
Driveway Paver Installation in New Hyde Park: What Happens Before the Pavers Go Down?
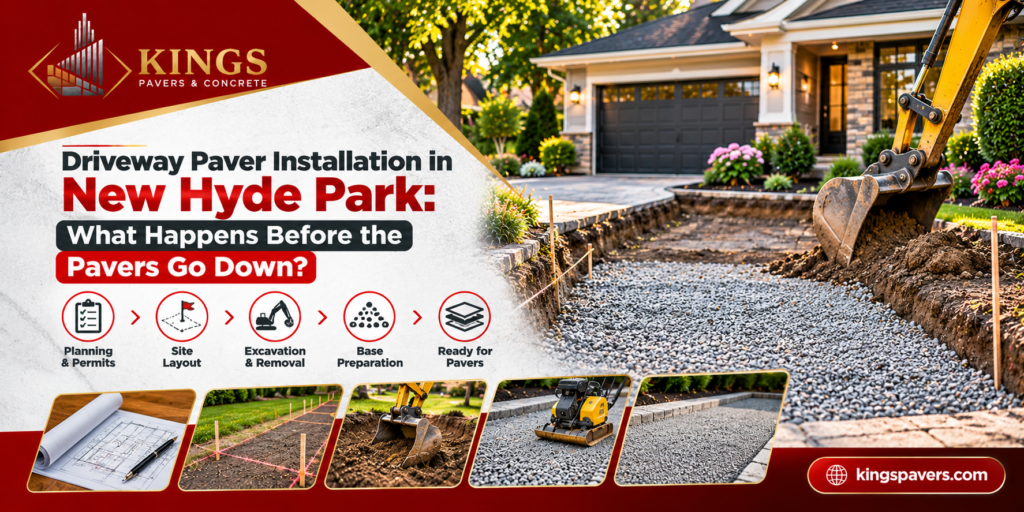
Most of what decides whether a paver driveway lasts happens before a single paver is set. Utilities have to be marked, permits settled if the curb or apron is involved, old pavement removed, and a base built and compacted. If you are researching the driveway paver installation process in New Hyde Park, this guide walks through those early stages in the order they usually happen. You will know what to expect, what you can do to help, and what to ask your contractor. For help choosing materials, see our guide to the best driveway pavers for New Hyde Park homes. Why the Groundwork Gets So Much Attention Pavers are a surface layer. They sit on bedding sand, which sits on a compacted stone base, which sits on prepared soil. If any of those layers is thin, wet, or poorly compacted, the surface eventually shows it through ruts, dips, or shifting edges. Long Island winters make this worse, because water that freezes and thaws beneath a driveway moves things around. That is why a good installer spends most of the early schedule on work you will never see once the driveway is finished. Step 1: Site Evaluation and Scope The first visit should cover more than color and pattern. A contractor should look at: Before you accept an estimate, ask for the scope in writing. It should state the base depth, the edge restraint type, the drainage plan, who handles removal and disposal, and who applies for permits. Our questions to ask a driveway paver contractor guide goes deeper on comparing bids. Step 2: Permits and Utility Marking in New Hyde Park This step happens before digging, and it can control your start date. Permits and the right jurisdiction New Hyde Park addresses can fall under different authorities depending on where the property sits. The Incorporated Village of New Hyde Park publishes a Sidewalk, Curb, Apron & Driveway Permit Application through its Building Department. The form asks the applicant to give the Building Inspector at least 48 hours’ notice to schedule the required inspection. Properties outside village limits may answer to the town or county instead. Whether a surface-only replacement needs a permit depends on the scope and location, so call the Building Department before work is scheduled. If the project touches the apron, curb, or sidewalk, ask your contractor who files the application. Kings Pavers lists curb cut work among its services if that applies to your property. Calling 811 Contractors must call New York 811 before mechanized digging. New York 811 serves the five boroughs plus Nassau and Suffolk Counties. The rule is at least two business days, and no more than ten, before the dig begins. The service is free, and utility companies mark their underground lines with paint or flags. Digging within two feet of those marks must be done by hand. Marks stay valid for 10 working days. If bad weather or a delivery delay pushes your excavation past that window, the marks have to be refreshed. This is one reason a start date can shift by a few days even when the crew is ready. You can learn more at New York 811. Step 3: Staging, Delivery, and Protecting the Property A paver driveway uses a lot of material. The ICPI’s homeowner guide recommends that your contractor identify an accessible spot for delivered pavers, crushed stone, and bedding sand, and follow local rules on storing materials in the street. You can make this easier by: Step 4: Excavation and Subgrade Preparation Once utilities are marked and permits are in place, the old driveway comes out. The crew then excavates to a depth that leaves room for every layer above the soil. The bottom of the excavation should equal the combined thickness of the compacted base, the bedding sand, and the paver. Here is a rough illustration. ICPI recommends a minimum of 6 inches of base for residential driveways and about 1 inch of bedding sand. The ICPI guide specification calls for pavers at least 2 3/8 inches thick for residential driveways. Those three numbers add up to about 9 3/8 inches of digging before any allowance for slope or site-specific conditions. Your lot may need more. After excavation, the exposed soil, called the subgrade, is compacted. Soft or wet spots should be dug out and replaced rather than built over. In some soils, a geotextile fabric is laid down to keep fine soil from working its way up into the stone base. Ask whether your site calls for it. Step 5: Building and Compacting the Aggregate Base The base is crushed stone, placed in layers and compacted before the next layer goes on. One manufacturer’s installation guide describes placing the base in two or three lifts for most residential projects and compacting with a plate compactor rated at least 7,000 pounds of force or a vibratory roller. The stone should be kept lightly damp during compaction. If free water appears on the surface, the material is too wet and needs to dry. When the base is finished, the surface should be smooth and tightly knit, with no gaps where bedding sand could sink. Our driveway pavers guide has more detail on base specifications. You will often see the crew working in sections, so the site can look rough for a while. That is normal. What matters is the compaction, not the speed. Step 6: Edge Restraints and Drainage Details Edge restraints hold the pavers in place along the perimeter. Without them, the field of pavers slowly spreads under turning tires. They can be plastic, metal, or concrete, depending on the design and use. ICPI’s checklist for comparing proposals lists a base that extends at least 6 inches beyond the restraint, which gives the edge something stable to sit against. Drainage details also get settled at this stage, while the base is still open: Changes made here cost very little. The same change after the pavers are down means lifting and relaying the work. Step