- All
- Concrete
- concrete contractor
- Concrete Crack
- Concrete Driveway
- Concrete Services
- Driveway Paving
- Driveways
- Paver Driveways
- Paver Installation
- Paver patio
- Retaining Walls
- Sidewalk Repair
- Sidewalk Violation Removal
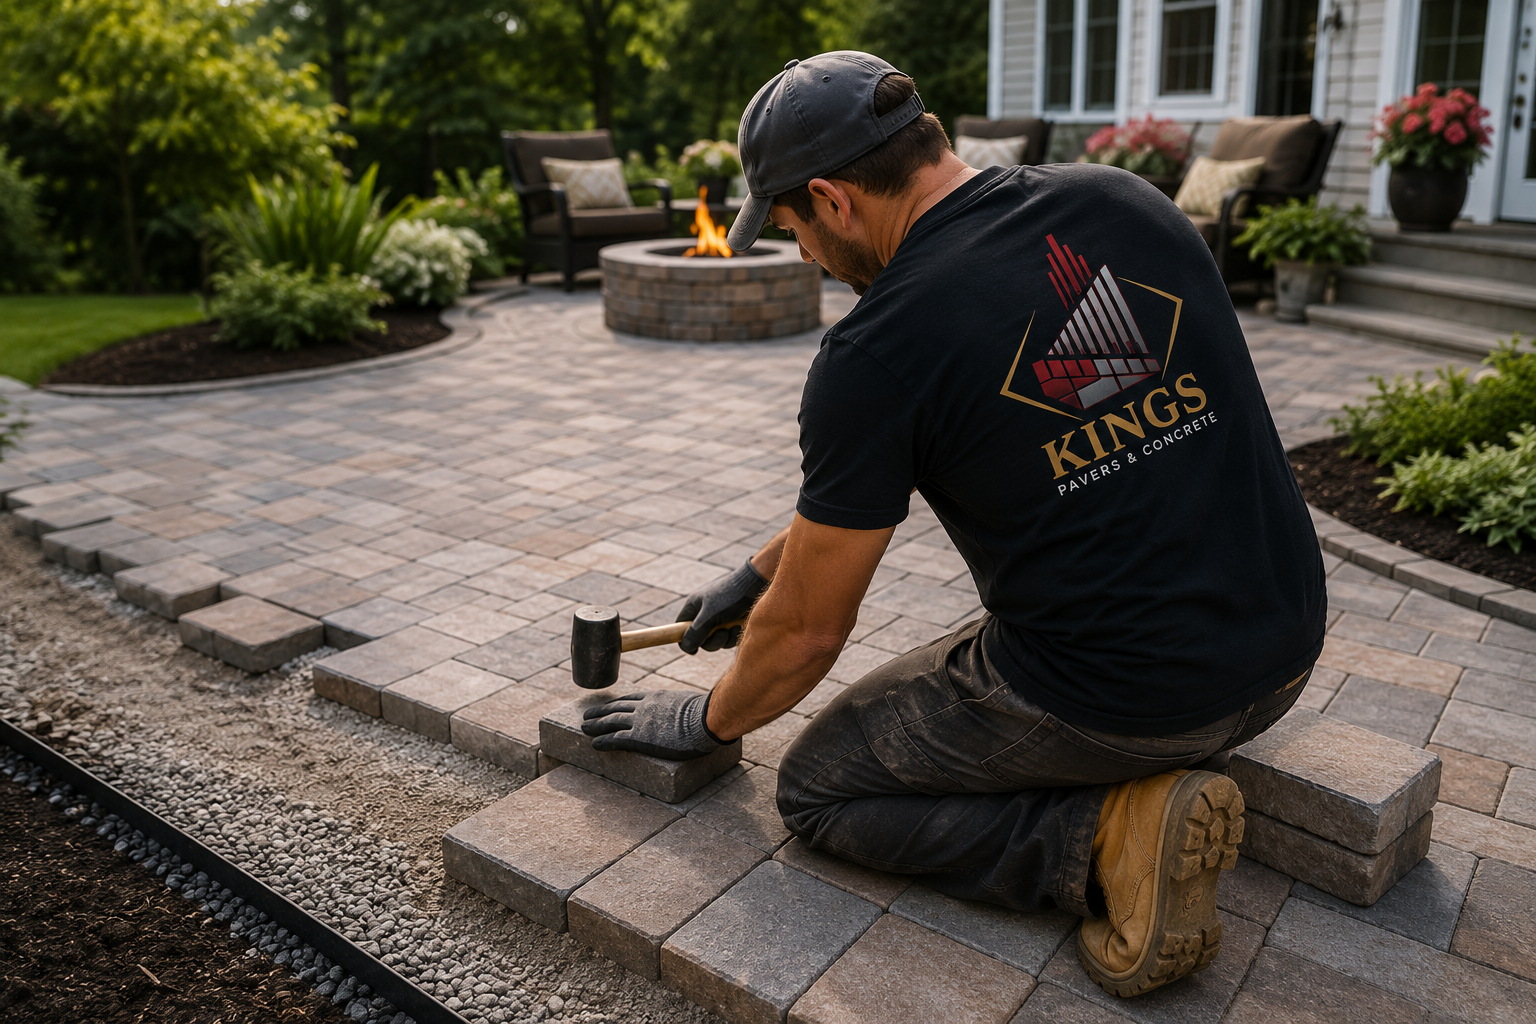
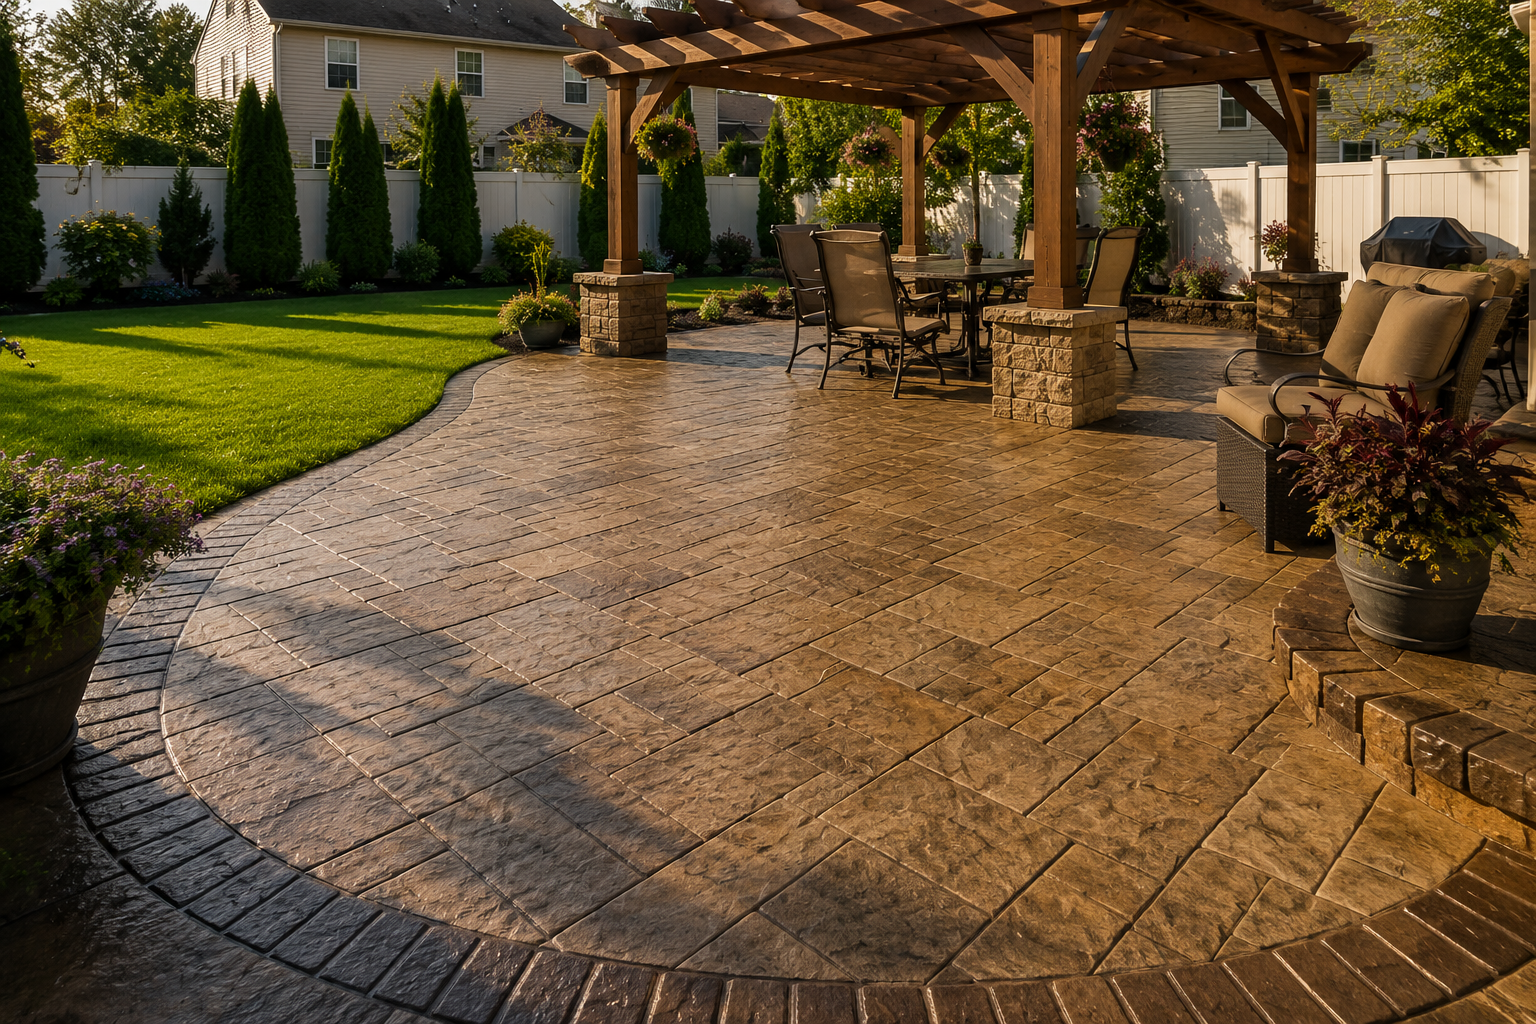
I’ve been installing patios around New York for over twenty years, and I can tell you the patios that hold...
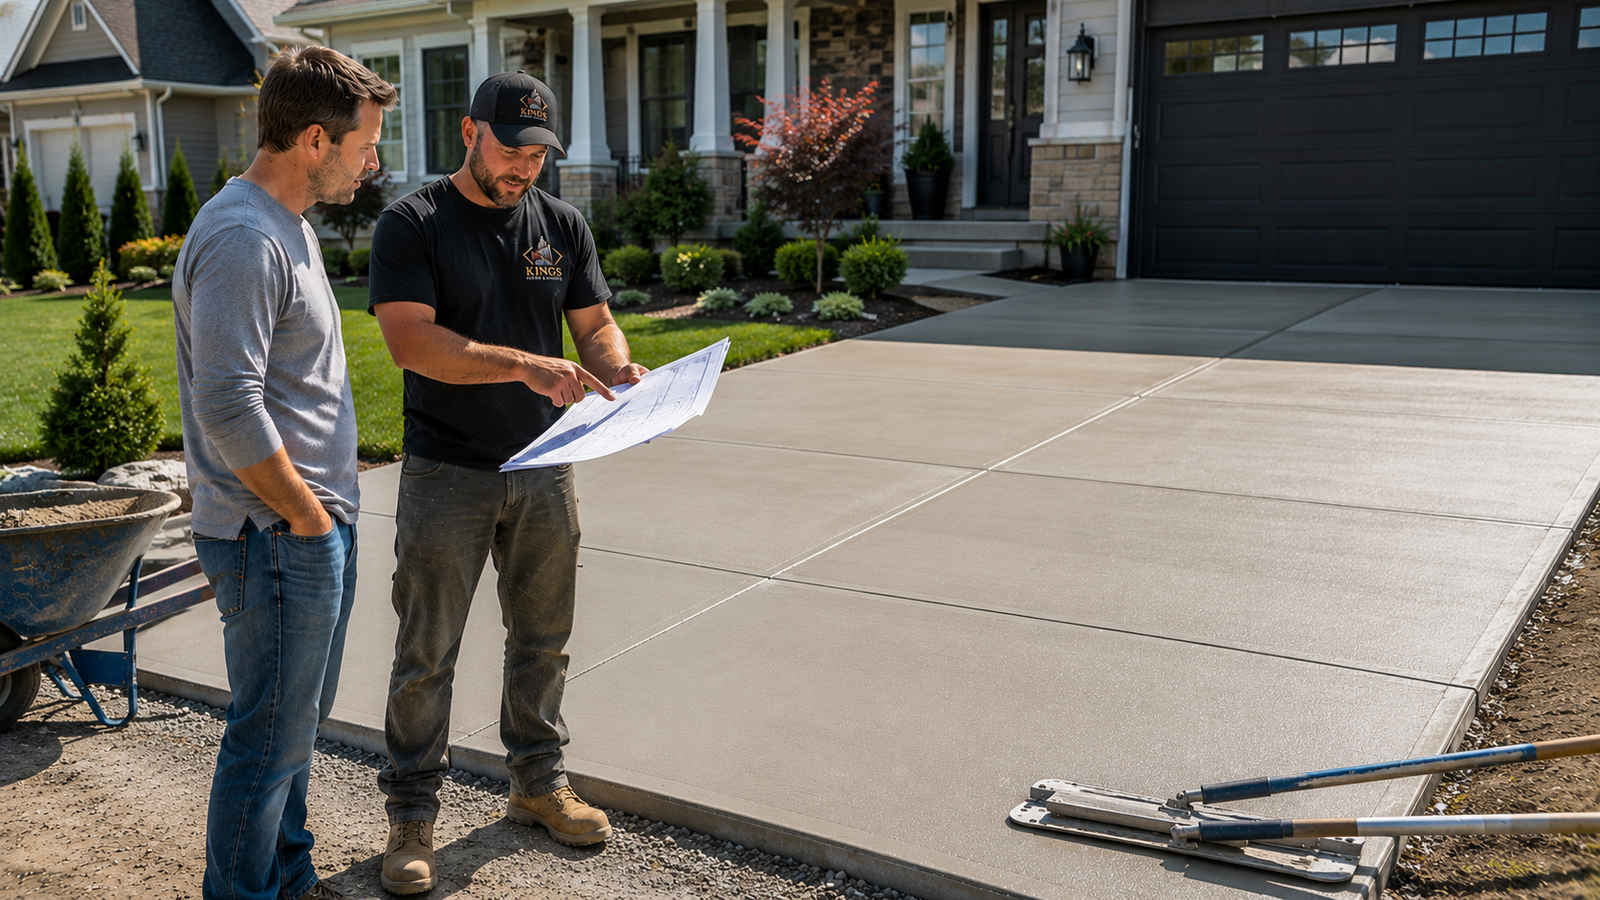
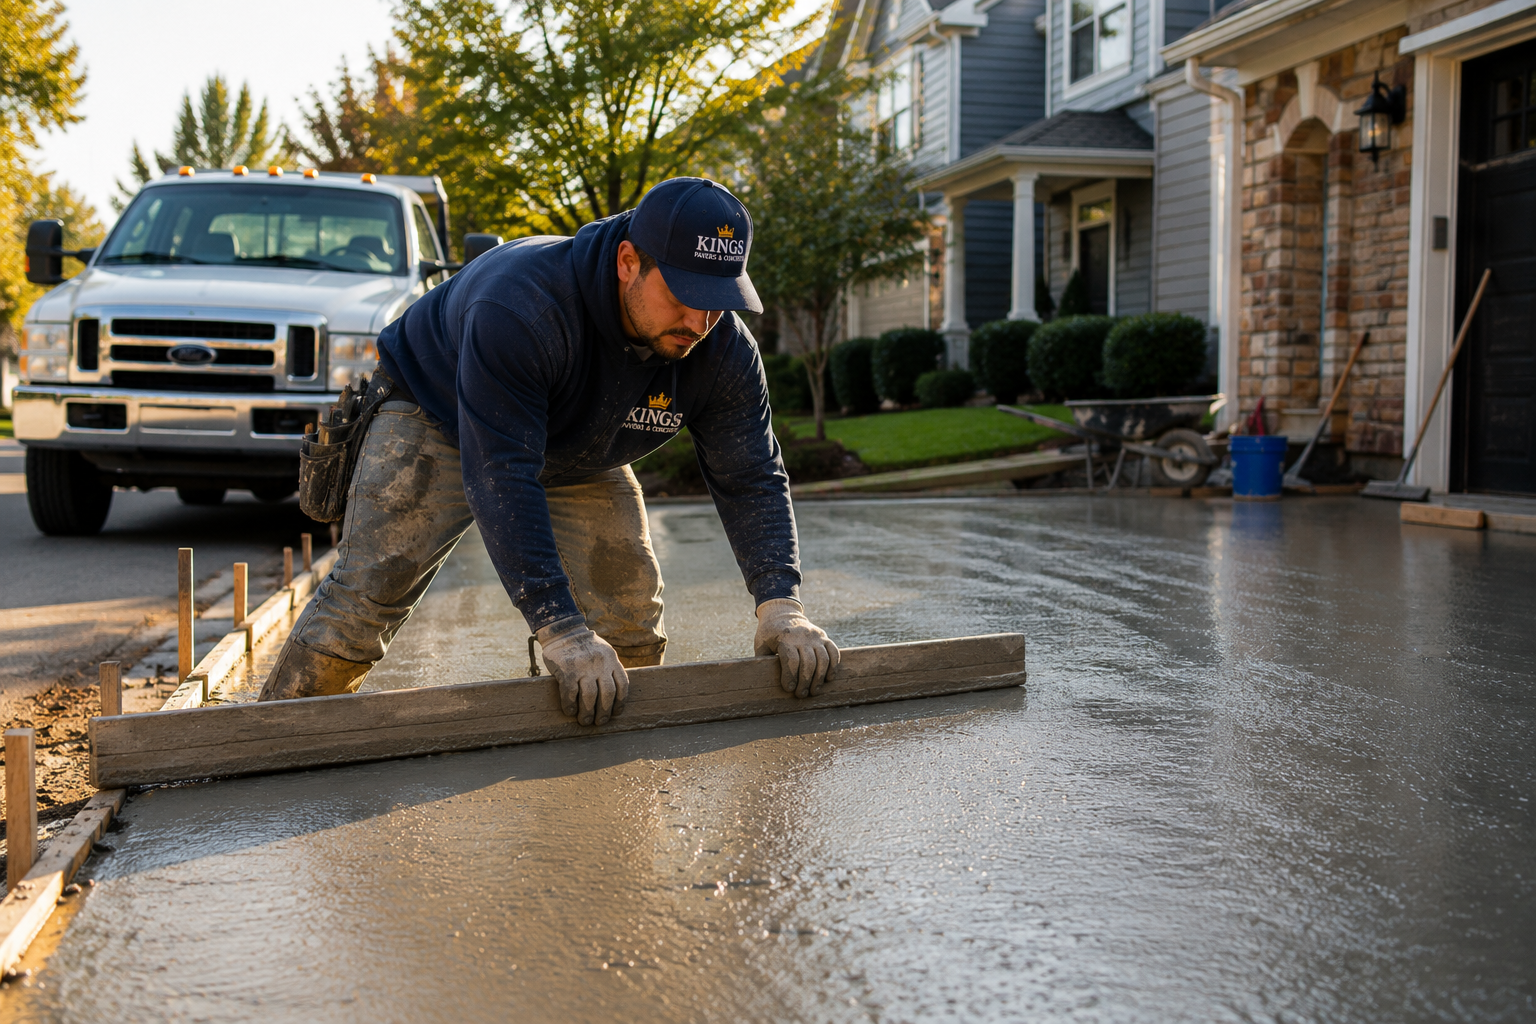
If you’ve been collecting quotes for a driveway, patio, or foundation repair, you’ve probably noticed something. Some bids come from...
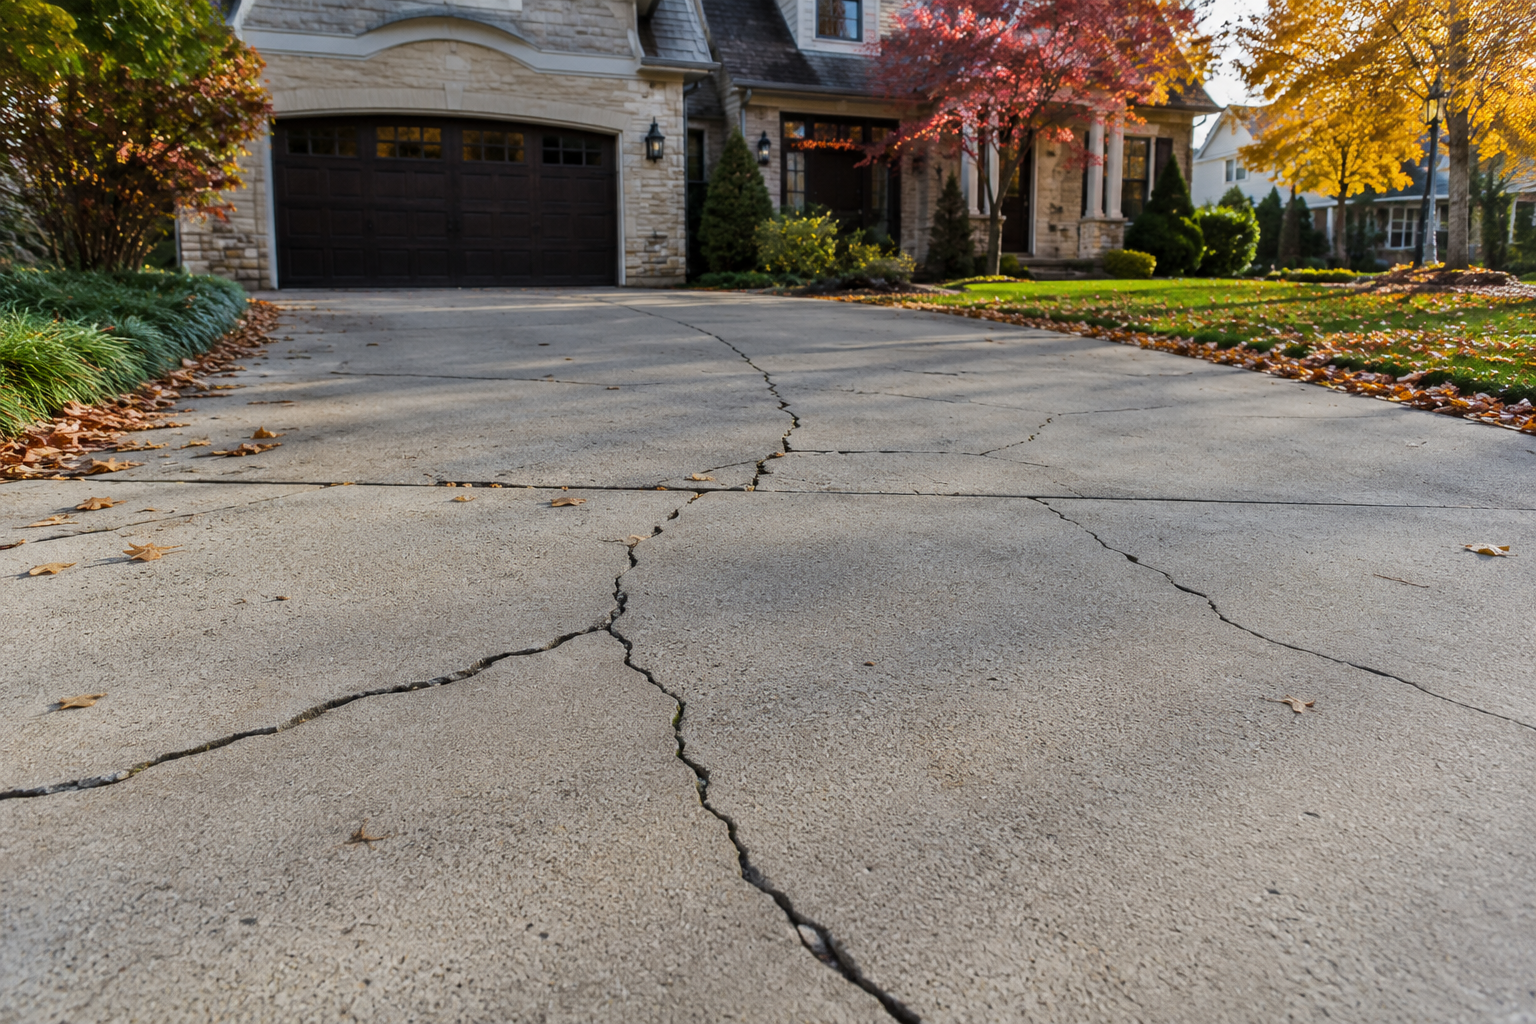
If you just walked outside and noticed a new crack running across your driveway or patio, take a breath. You’re...
I’ve been pouring concrete in New York for over twenty years, and if there’s one thing I’ve learned, it’s this:...

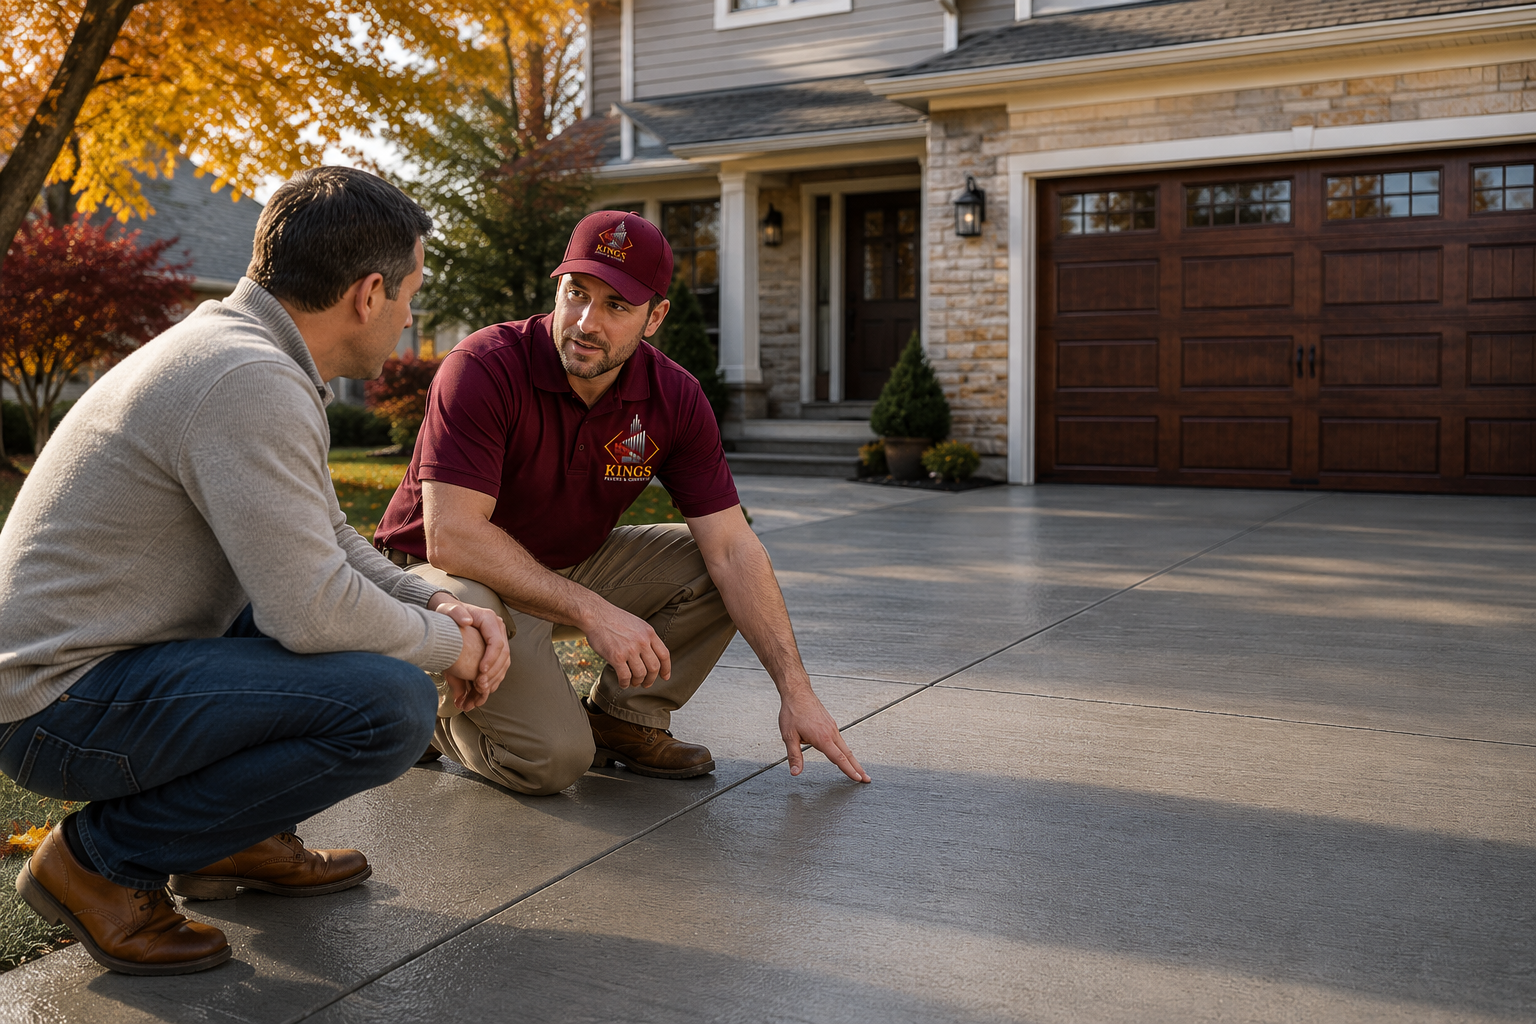
I get this question a lot. A homeowner calls, says their driveway is looking rough, and wants to know if...
I’ve been pouring and stamping concrete in New York for over twenty years. In that time, I’ve worked on everything...

Picking a concrete contractor sounds simple enough. You get a few estimates, check out some photos, and go with the...
Every single customer I’ve ever worked with asks the same question the moment we finish a pour: “So when can...
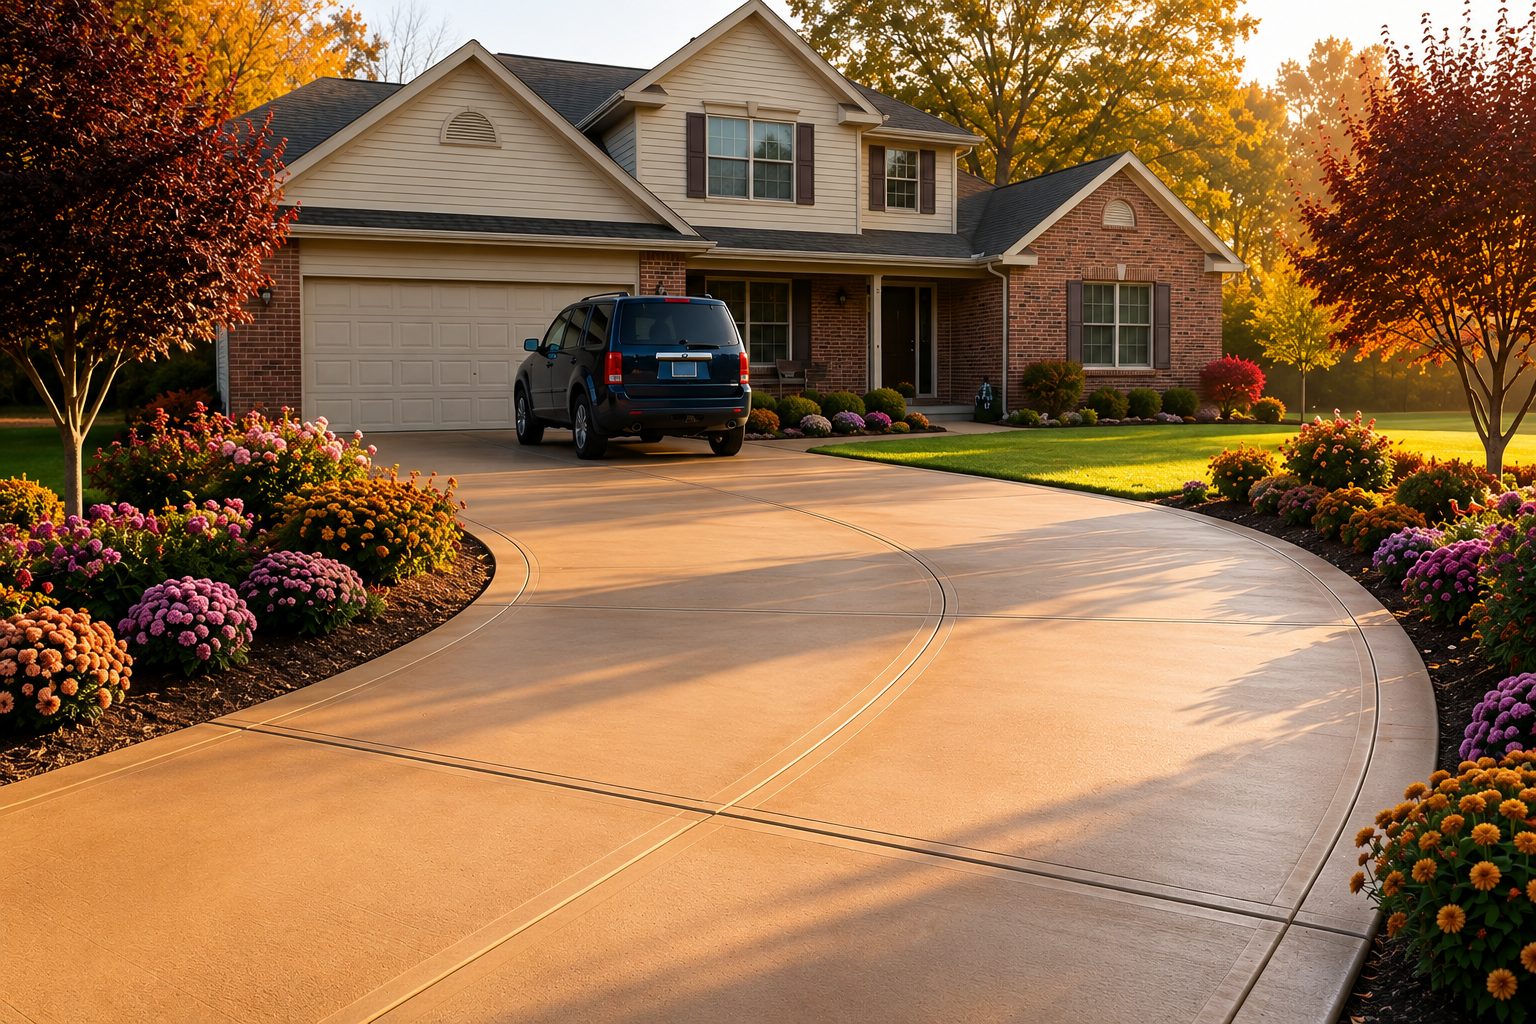
Every week, I get calls from homeowners asking some version of the same question: ‘My driveway is looking rough, is...