
A paver driveway usually looks its best the week after it’s installed. Give it a few Long Island winters and some changes start to show. The joints go pale and gritty, a few weeds poke through near the garage, a dark oil spot appears where the car sits, and one corner starts to dip just enough that water collects after a storm.
None of that means the driveway was installed badly. It means the driveway is being used, and it needs some attention.
The short answer to “how do I maintain driveway pavers?” is this: inspect them at least twice a year, keep the surface clean, keep the joints full of sand, watch how water drains, and deal with small settlement before it spreads. Most of that is simple. The rest of this article covers what to look for and when a problem has gone past what a homeowner should tackle alone.
The brick driveway paving New Hyde Park homeowners choose is made of individual units locked together over a compacted base. That’s what makes it flexible and repairable, and it’s also why it responds so well to regular attention.
Why Paver Driveway Maintenance Matters
A paver driveway works as a system: the pavers, the sand between them, the bedding layer beneath, and the compacted base under that. When one part weakens, the others take on more load.
Joint sand is a good example. It’s inexpensive and easy to overlook. Once it washes out, pavers can shift against each other, water gets down into the base, and weeds find a place to root. Left alone for a few years, a small joint-sand problem can turn into edge movement or low spots.
Small problems are also cheaper and less disruptive to fix. Topping up joints is an afternoon of work. Lifting and re-laying a settled section takes longer, and rebuilding a base that has washed out takes longer still.
How Often Should Driveway Pavers Be Maintained?
There’s no single schedule that fits every driveway. A quiet residential driveway under trees needs different care than a commercial lot with delivery trucks. The frequencies below are practical rules of thumb, not a manufacturer standard. If your pavers, sealer, or joint sand came with written instructions, those take priority.
| Maintenance Task | Suggested Frequency | Why It Matters |
| Visual inspection | Spring and fall, plus after major storms | Catches settlement, joint loss, and drainage problems early |
| Sweeping/blowing off debris | As needed; more often in leaf season | Organic debris holds moisture and feeds moss, algae, and weeds |
| Weed and moss check | Monthly during the growing season | Easier to remove when small; roots loosen joint sand |
| Surface washing | Yearly, or when dirt or algae builds up | Removes grime without wearing down the surface or joints |
| Joint sand check | At least once a year | Full joints keep pavers locked together |
| Drainage check | After heavy rain | Standing water points to grading or base trouble |
| Resealing (if sealed) | Depends on product and wear; follow the label | Sealers wear down at different rates |
| Pre-winter walkthrough | Late fall, before the first hard freeze | Fixing gaps before freeze-thaw prevents worse damage |
Traffic changes the picture. Areas where cars turn the wheels, park in the same spot, or where a heavier vehicle pulls in tend to show wear sooner.
Step-by-Step Driveway Paver Maintenance
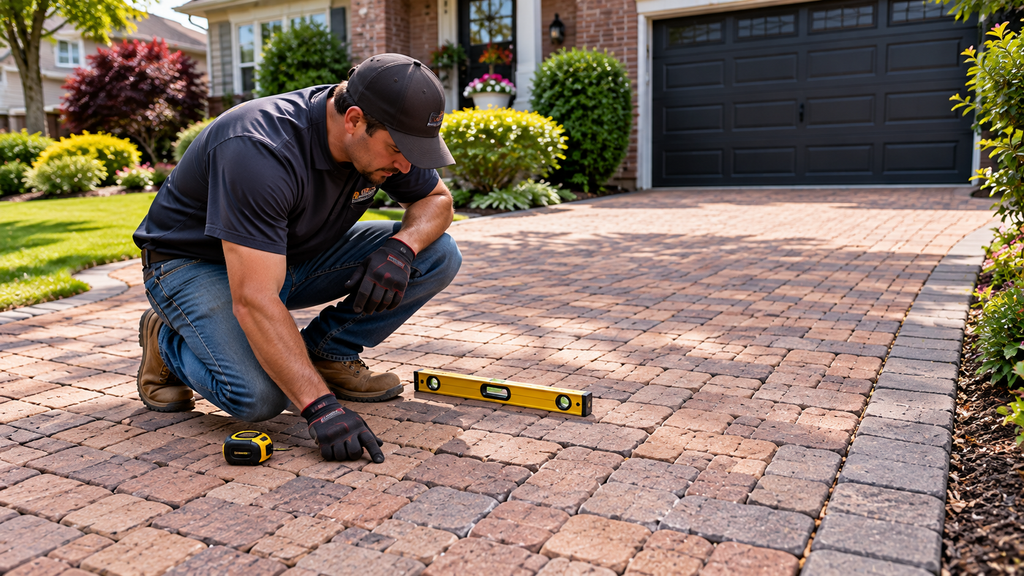
Step 1: Inspect the driveway. Walk it slowly, ideally in daylight when shadows make low spots easier to see. Look for pavers that sit higher or lower than their neighbors, cracked units, gaps along the edges, and any spot where water lingers. Take a few photos each time so you can compare from year to year.
Step 2: Remove leaves, dirt, and debris. Sweep or use a leaf blower. This sounds minor, but wet leaves left over winter will stain some pavers and give moss a foothold. Pay attention to the edges and corners where debris packs in.
Step 3: Clean stains appropriately. Match the method to the stain. Fresh oil should be blotted (not wiped, which spreads it) and covered with an absorbent material before you clean the area. Green or black growth in shaded areas usually calls for a gentle scrub or a cleaner made for pavers. Cleaning has its own section below.
Step 4: Check joints and joint sand. Joints should be filled close to the top, leaving a small gap below the edge of the paver. If you can see a lot of the paver’s side wall, or a stick or screwdriver slides deep into the joint, the sand has dropped.
Step 5: Look for loose, uneven, or sunken pavers. Step on suspect areas. Pavers that rock or clunk under your foot are no longer held by the bedding layer. A shallow dip you can barely feel is a different situation than a depression that holds water, and we’ll get to that below.
Step 6: Check drainage after rainfall. Go out after a real rain and see where the water goes. It should move off the surface toward a lawn, drain, or street, not sit on the pavers or run toward the garage or foundation. Water still standing hours later, or a spot where the joint sand keeps washing out, is worth investigating.
Step 7: Determine whether resealing is appropriate. If the driveway was never sealed, you don’t have to start now. If it was sealed, check whether water still beads on the surface and whether the finish looks worn or patchy in the wheel paths. The decision depends on the product and the pavers, which the sealing section covers.
Step 8: Prepare the driveway for winter. In late fall, top up any low joints, clear the surface, and mark the driveway edges if you or your plow contractor use a plow. More on winter care below.
Cleaning Brick and Concrete Driveway Pavers
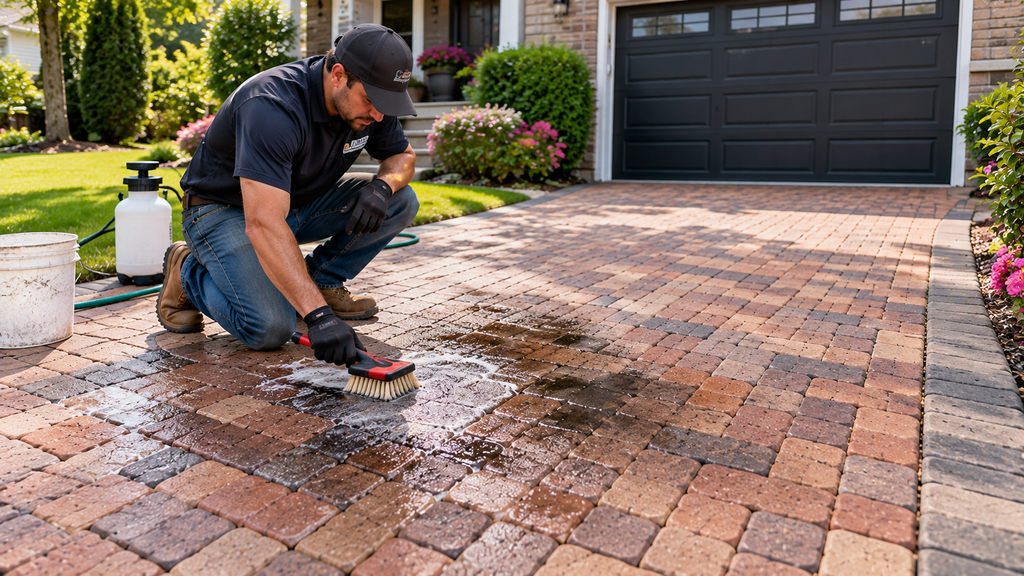
Start with the gentlest approach and work up only if needed. Sweeping and a rinse with a hose take care of most ordinary dirt. For stubborn buildup, a soft-bristle brush and a mild cleaner usually work better than power.
- Oil and grease. Fresh drips are easiest. Blot up what you can, cover the spot with an absorbent material, and follow up with a degreaser or paver cleaner designed for the material. Old oil that has soaked in may lighten but not fully disappear. Test any product in an inconspicuous spot first.
- Organic staining. Leaves, algae, and moss show up as dark, green, or slick patches, mostly in shade or where the driveway stays damp. A mild detergent and a soft brush work on light growth. Heavier growth may need a cleaner made for pavers. Be cautious with chlorine bleach, since some pavers can discolor and it can harm nearby plants.
- Dirt buildup. A wash with water and a brush, or a careful pressure wash, restores most surfaces.
- Weeds. Pull small weeds by hand, roots included, and refill the joint afterward. Weeds usually take hold where joint sand has already dropped or organic material has settled.
Pressure washing deserves a caution. It works, but a narrow, close, high-pressure spray can etch the surface of some pavers, leave streaks, and blast joint sand out of the joints. Use a wide fan tip, keep the wand moving and at a reasonable distance, and plan to check and refill the joints once the driveway dries.
Harsh acids and strong chemicals can also damage pavers or sealers, and some are not appropriate on certain finishes. If you aren’t sure what your pavers are, or what’s on them, ask the installer or paver manufacturer before you pick a product.
Should Driveway Pavers Be Sealed?
Not necessarily. Sealing is a choice, not a requirement, and it isn’t the right call for every driveway.
What sealing can do: depending on the product, sealers may deepen the color, help resist staining, make sweeping easier, and help hold joint sand in place. Some are designed to lock joints more firmly.
Where it falls short:
- It doesn’t repair settlement, drainage problems, or a weak base.
- It wears off and needs reapplication, and the interval varies by product, traffic, and exposure.
- Some sealers leave a glossy or slippery finish, or trap moisture if applied at the wrong time or over the wrong surface.
- Applying over dirt, stains, efflorescence (the white haze that can appear on new concrete pavers), or an earlier sealer can cause cloudiness or peeling.
- Once you start sealing, you commit to maintaining it.
Whether it makes sense depends on the paver type (brick and concrete behave differently), the condition of the surface, what has been applied before, the manufacturer’s guidance, and the sealer itself. If a sealer is going on, check the label for weather and cure requirements. If you’re unsure, ask a contractor familiar with your paver type before you buy anything.
Joint Sand and Why It Matters
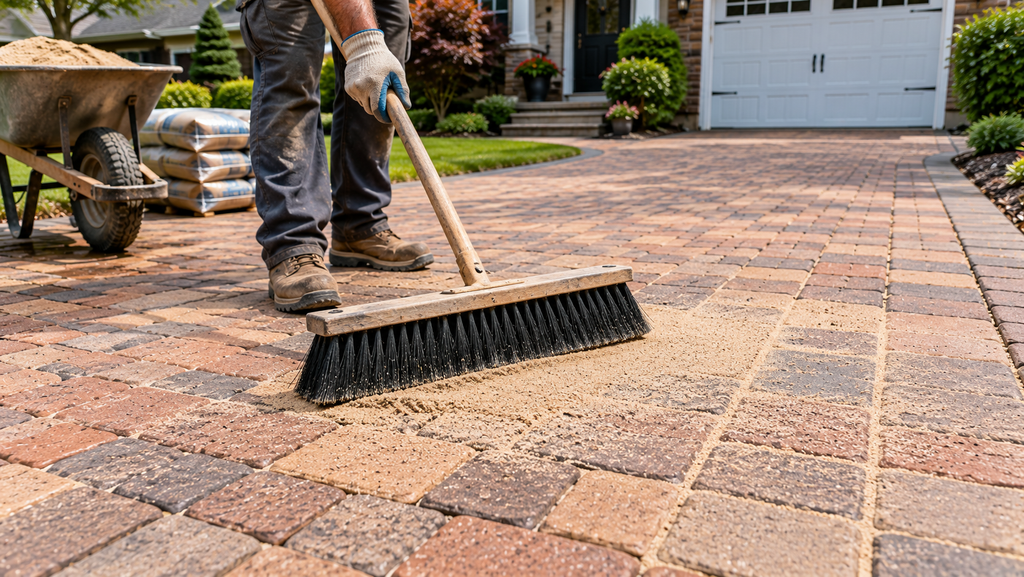
Joint sand is what keeps the pavers working together. It fills the narrow gaps, helps transfer load from one paver to the next, and blocks weeds and some water from moving into the bedding.
When it disappears, several things tend to happen. Pavers can shift and chip at the edges. Weeds settle into the gaps. Water flows more freely into the base and can carry fine material with it. On a driveway that sees regular freeze-thaw, open joints are one of the more common early warning signs.
Sand goes for ordinary reasons: rain runoff, sweeping too hard, pressure washing, and general settling. Some loss over the years is normal.
Topping up is often reasonable when joints look low, but the pavers are stable. Sweep sand into the joints, compact or settle it as the product directs, and remove the excess from the surface. Some driveways use polymeric sand, which hardens with moisture, and it has specific requirements for dryness, weather, and cleanup. Follow the manufacturer’s instructions closely, since residue left on the surface can leave a haze. If you find deep, widespread loss or joints that keep emptying no matter what you do, look for a drainage or base problem instead of just adding more sand.
How New York Winters Affect Paver Driveways
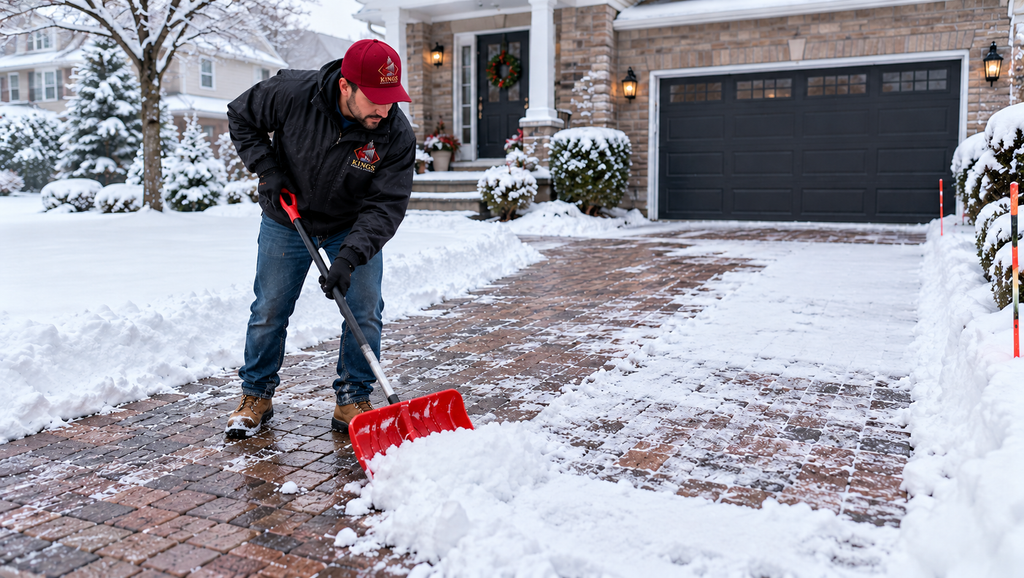
Water is the underlying issue. When it gets into open joints, the base, or the paver surface, then freezes and expands, it stresses everything around it. Repeated freeze-thaw cycles across a Long Island winter, where temperatures swing above and below freezing, are harder on a driveway than steady cold. A well-built driveway with a properly compacted base, good drainage, and full joints can handle that. A driveway with weak spots shows them.
A few practical points:
- Shoveling. A plastic shovel is kinder to the surface than a metal one. Don’t chip at ice with a pick or a sharp edge.
- Plowing. If someone plows, tell them the driveway is pavers. Raised plow shoes or a rubber or poly cutting edge help avoid catching an edge or scraping up a paver. Marking the driveway borders helps too.
- Deicing products. Products vary a lot, and the right answer depends on your pavers. Some deicers can contribute to surface scaling on concrete products, especially with heavy repeated use or on pavers that are new. Fertilizer-type products are generally a poor idea. Check with the paver manufacturer or installer about which deicers are acceptable for your material. Sand or another traction material is a simple alternative in places you just need grip. Whatever you use, use it sparingly and sweep up leftovers in spring.
- Late-fall prep. Fill low joints and clear debris before freezing weather so water doesn’t get a head start.
Warning Signs Maintenance Has Become a Repair Issue
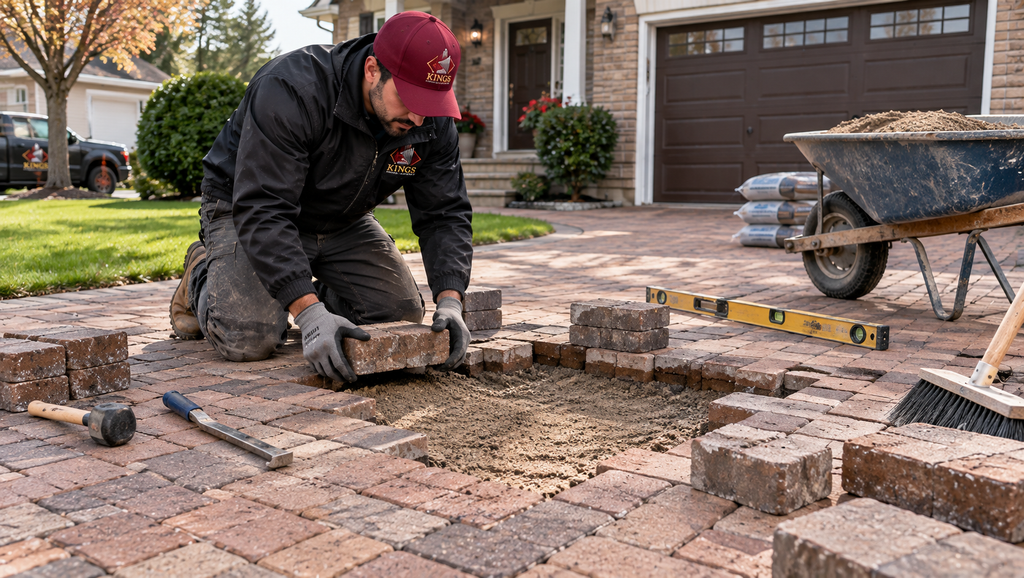
Cleaning, sweeping, and topping up sand are reasonable homeowner jobs. The following are different.
- Sunken areas. A depression that’s getting deeper, or that holds water, usually means the bedding or base has shifted or washed out. Adding sand on top won’t fix it.
- Rocking or loose pavers. If they move underfoot, the bed below them has changed.
- Persistent standing water. This may be a grading problem, a settled area, or a drainage issue that needs correcting.
- Significant joint loss. Deep gaps across large areas, or joints that refill and empty again, point to something underneath.
- Edge movement. Pavers drifting away from the border, or edging that has separated, means the driveway isn’t being held in.
- Widespread unevenness. One low spot might be a local repair. Waves across much of the driveway suggest a bigger cause.
A single sunken area can often be repaired by lifting the pavers, correcting the base and bedding, and setting the same pavers back. That’s usually much smaller work than replacing a driveway. It’s also work where getting the cause right matters, since a paver that sank once will sink again if the reason wasn’t addressed. That’s where a professional assessment earns its keep.
Common Paver Maintenance Mistakes
- Using the wrong chemical. Strong acids, aggressive cleaners, and a product picked without testing can etch or discolor the surface.
- Ignoring drainage. A driveway that stays wet will stain, grow moss, and weaken faster.
- Letting joint sand disappear. It’s cheap to fix early and expensive to ignore.
- Waiting on settlement. A shallow dip that’s addressed early is far easier to fix than the same spot after a couple of winters and thousands of tire passes.
- Pressure washing too hard. It can strip sand and mark the surface, and the damage often shows up after it dries.
- Expecting sealer to fix structural problems. It’s a surface treatment. It doesn’t reach the base.
Seasonal Maintenance Checklist for Brick Driveway Paving in New Hyde Park
| Season | What to Check | Recommended Action |
| Spring | Winter effects: joint loss, shifted or lifted pavers, salt residue, edge movement | Sweep, rinse, refill low joints, note any areas to watch or have looked at |
| Summer | Weeds, moss, oil drips, drainage after heavy storms | Pull weeds, spot-clean, watch for standing water |
| Fall | Leaves, joint sand, sealer condition (if sealed), drainage paths | Clear debris, top up joints, schedule any repairs before the ground freezes |
| Winter | Ice buildup, snow removal method, deicer use | Shovel gently, use traction or approved deicers sparingly, brief any plow operator |
A Realistic Example (Illustrative Only)
This is a hypothetical scenario to show how the process works. It is not a real customer or project.
Picture a homeowner in New Hyde Park with a paver driveway that’s about eight years old. In spring, they notice sand missing along the wheel paths, a few weeds, and a shallow dip near the bottom of the driveway where a puddle lingers after rain.
Problem: Low joints, weeds, and a small area that holds water.
Inspection: They walk the driveway after a rainstorm. Most of it is stable, but several pavers in the dip flex slightly underfoot, and the puddle sits there for hours. The downspout on the near corner of the house discharges close to the driveway edge.
Maintenance and repair: They handle the routine work themselves: pull the weeds, gently wash the surface, and refill the joints. For the dip, they call a professional, who finds that runoff from the downspout has been softening the bedding at that spot. The downspout gets redirected, the affected pavers are lifted, the base and bedding are corrected, and the pavers are reset.
Outcome: The driveway drains properly, the joints are full, and the problem doesn’t return because the cause was fixed and not just the symptom.
Expert Insight
Paving professionals who follow industry guidance, such as materials from the Interlocking Concrete Pavement Institute (ICPI), tend to agree on a few basics: most paver problems begin below the surface, so maintenance should always include a look at drainage and base stability. Full joints matter more than most owners realize. Cleaning and sealing products should be matched to the specific paver and tested first. And catching movement early is almost always easier than fixing it later. Exact recommendations depend on your paver material and installation, so use the manufacturer’s guidance where it exists.
FAQs
How often should driveway pavers be maintained?
Inspect them in spring and fall, sweep as needed, check joint sand at least once a year, and look at drainage after heavy rain. High-traffic driveways or ones under trees may need more frequent attention.
Should brick driveway pavers be sealed?
Not always. Sealing can help with staining and color and may help hold joint sand, but it needs reapplication and doesn’t fix structural problems. Whether it makes sense depends on your paver type, surface condition, and the specific product.
How do you clean driveway pavers without damaging them?
Start with sweeping and a hose rinse, then use a soft brush and a mild or paver-specific cleaner. If you pressure wash, use a wide fan, keep it moving, and refill the joints afterward. Test any product on a small area first.
Why is sand coming out from between my pavers?
It’s usually rain runoff, sweeping, pressure washing, or normal settling. If it keeps happening after you refill the joints, look for a drainage or base issue.
Can sunken driveway pavers be repaired?
Often, yes. A professional can lift the pavers, correct the base and bedding, and reset them. Finding and fixing the cause, such as water washing out the base, is the important part.
How long can a properly maintained paver driveway last?
Well-installed and maintained paver driveways commonly last for decades, but the actual lifespan depends on the base preparation, materials, traffic, drainage, and how promptly problems are handled.
Get Help With Your Paver Driveway in New Hyde Park
If your driveway has uneven pavers, standing water, joints that keep losing sand, or signs of wear that are getting worse, it may be time to have it checked. Small paver problems are often easier to correct before they affect a larger area.
Kings Pavers & Concrete works with homeowners and commercial property owners in and around New Hyde Park. We can inspect the condition of your driveway and help determine whether routine maintenance is enough or a professional repair is the better option.
Reach out today to request an assessment or a free estimate for your paver driveway.

One Response