
How Thick Should a Concrete Driveway Be in New York?
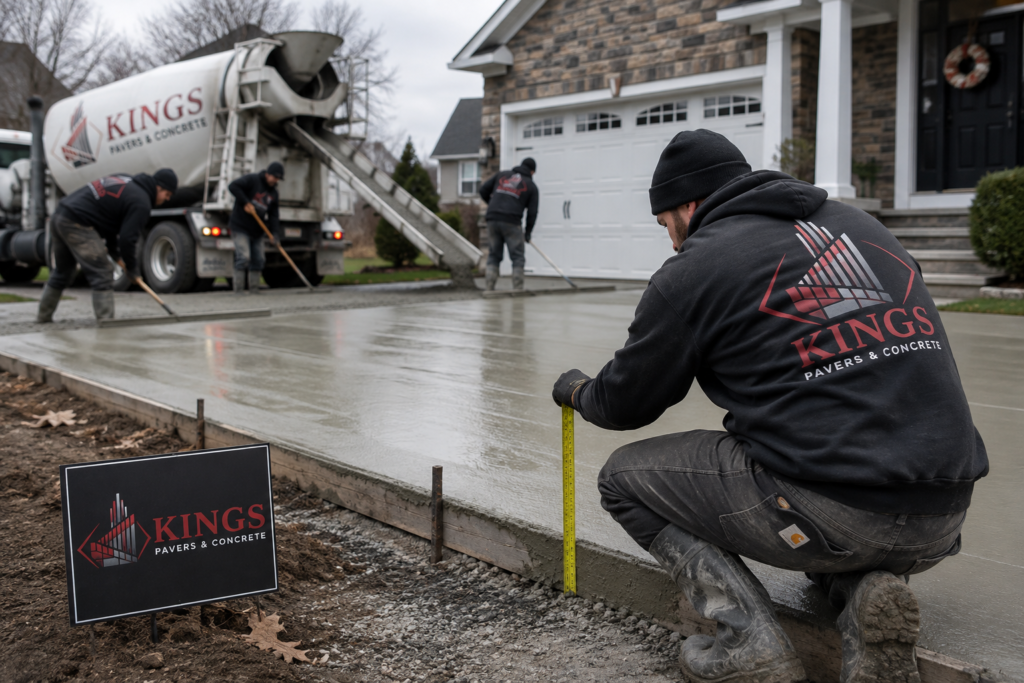
If you’re standing in your driveway right now trying to figure out whether to go with 4 inches or 6, here’s the short answer: for most homes with regular cars and SUVs, 4 inches of concrete is the standard starting point. But that number isn’t the whole story, and in a lot of New York driveways, it’s not actually the number I’d recommend. So how thick should a concrete driveway be? For a typical residential driveway carrying passenger cars and light trucks, 4 inches is the accepted minimum. If you’re regularly parking a pickup, an SUV, a work van, or you deal with New York’s freeze-thaw winters, 5 to 6 inches is usually the smarter call. Commercial driveways that see delivery trucks or heavier equipment often need 6 to 8 inches, sometimes more, depending on the loads involved. That’s the baseline. What actually determines the right number for your specific driveway comes down to a handful of things working together: how heavy the vehicles are, what kind of soil is under there, how well the base gets prepared, whether there’s reinforcement, and how the site handles water and freezing. Thickness matters, but it’s one piece of a bigger puzzle. I’ve seen 4-inch driveways outlast 6-inch driveways because the base and drainage were done right, and I’ve seen the opposite happen just as often. Let’s walk through where these numbers come from and how a contractor actually arrives at a thickness for a specific job, not just a generic rule of thumb. What Is the Standard Concrete Driveway Thickness? For a standard residential concrete driveway, 4 inches is the commonly cited minimum for slabs supporting passenger vehicles. That’s the number you’ll see repeated across the industry, and it holds up fine for a lot of driveways. A family with two sedans and maybe an occasional visitor’s car isn’t putting much stress on the slab. Where it gets more nuanced is the difference between “meets the minimum” and “built for the long haul.” A 4-inch slab poured over a well-compacted base, with the right concrete mix and proper joints, can perform well for decades. A 4-inch slab poured over soft or poorly prepared ground is a different story regardless of what’s written on the concrete truck’s ticket. Here’s where people sometimes get into trouble: they hear “4 inches is standard” and assume that’s a universal answer for every situation, including driveways that regularly see trucks, RVs, or multiple vehicles parked side by side. That’s not really how it works. The 4-inch number is a baseline for light residential use, not a one-size-fits-all spec. Driveway Use Typical Thickness What to Consider Passenger vehicles 4 inches Normal residential use, stable soil SUVs / pickups 4–5 inches Vehicle weight and how often they’re parked in the same spot Heavy vehicles (RVs, boats, work trucks) 5–6 inches May need thicker slab and reinforcement Commercial traffic 6–8+ inches Project-specific, generally needs engineering input Keep in mind these ranges are general guidance, not a substitute for a site-specific evaluation. Local code requirements, soil reports, and the actual vehicles using the driveway should determine the final number. Is 4 Inches of Concrete Enough for a Driveway? For most cars and light trucks, yes, 4 inches is generally considered adequate, assuming the base underneath is properly prepared and the concrete itself is a suitable mix for the climate. That doesn’t necessarily mean you need a thicker slab just because you own an SUV. Plenty of SUVs and light trucks fall well within what a 4-inch driveway can handle over a solid base. Where 4 inches starts to fall short is when the driveway sees regular heavier traffic, think delivery trucks, moving trucks, a boat trailer parked in the same spot every summer, or a work vehicle that comes and goes daily. Concentrated, repeated loads in the same location wear on a slab differently than the occasional car rolling across it. The other factor that pushes people toward a thicker slab, even for otherwise normal residential use, is New York’s climate. In areas that see real freeze-thaw cycles, going to 5 inches adds a margin of durability that a lot of contractors around here consider worth the extra cost, especially for driveways that will be in service for decades. If you’re on the fence, this is a good conversation to have with whoever is doing your concrete driveway installation before the pour, not after. When Should a Concrete Driveway Be Thicker? A handful of situations tend to push the recommendation past that 4-inch baseline: None of this means every driveway needs to be overbuilt. It means the decision should match the actual use, not a generic number pulled from a website. Why the Base Under the Concrete Matters Just as Much Here’s something that doesn’t get said enough: pouring thicker concrete over a bad base is like putting a better roof on a house with a cracked foundation. It might buy you some time, but it doesn’t fix the underlying problem. The base is what everything else sits on, and it needs a few things done right: Excavation. The area needs to be dug out to the correct depth, removing topsoil, organic material, and anything else that will settle or decompose over time. Skipping this or excavating unevenly is one of the more common shortcuts I’ve seen cause problems years later. Compaction. Loose soil settles. If the ground under a driveway isn’t properly compacted before the base material goes down, the slab above it will eventually follow that movement, and that’s when you start seeing cracks and low spots. Aggregate and subbase preparation. A layer of crushed stone or gravel, properly compacted, gives the concrete a stable, well-drained surface to sit on. This layer also helps with drainage, which matters a lot more in a state that deals with snowmelt and spring thaw every year. Soft areas. Any pockets of soft or wet soil found during excavation need to be addressed before the pour, not covered up and hoped away.
How to Fix Cracks in a Concrete Driveway (DIY Methods That Actually Last)
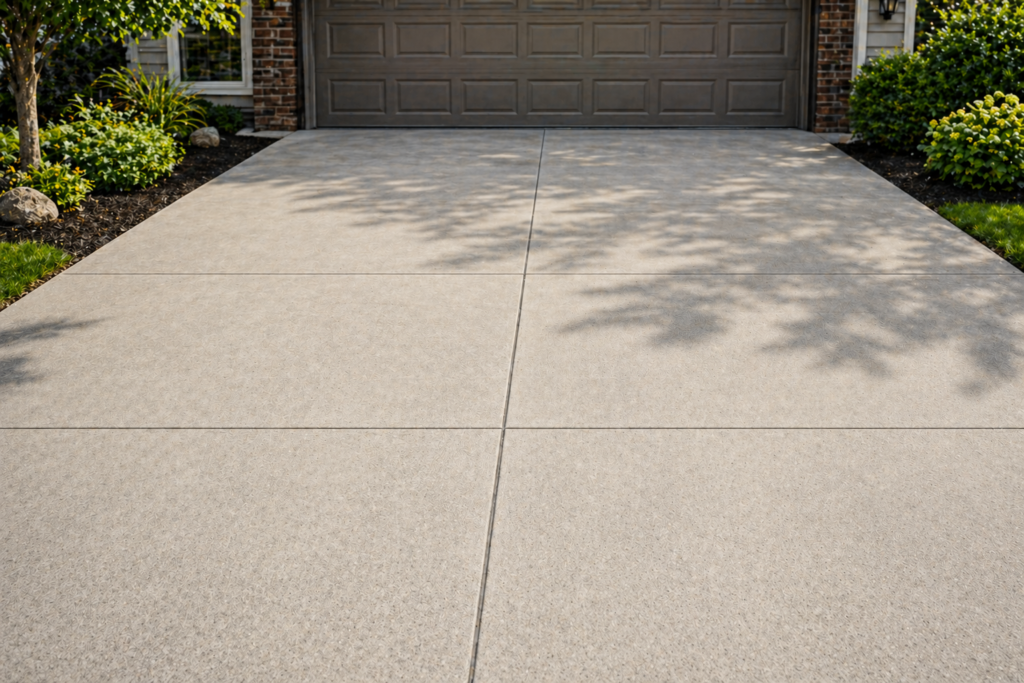
Cracks in a concrete driveway are more than just an aesthetic blemish on your property’s curb appeal; they are early warning signs of structural fatigue. For most homeowners, a driveway is one of the most expensive components of their exterior landscape. Yet, it is often the most neglected. The primary enemy of concrete isn’t actually the weight of its water. When a crack opens, even a hairline one, it creates a direct highway for moisture to reach the sub-base. Once that moisture enters, the clock starts ticking on a “domino effect” of damage that can lead to thousands of dollars in replacement costs. In this guide, we provide the most comprehensive look at how to fix cracks in concrete driveway slabs to ensure your home remains safe and valuable. 1. The Science of Concrete Failure: Why Driveways Break Before you can master how to fix cracks in concrete driveway issues, you must understand the material itself. Concrete is essentially a rigid sponge. It is incredibly strong under compression but very weak under tension. Thermal Expansion and Contraction Concrete is a “living” material that breathes. On a hot summer day, a 50-foot driveway can expand by as much as half an inch. Without proper expansion joints, the internal pressure becomes so great that the concrete must “relieve” itself by cracking. Sub-Base Erosion If the soil underneath your driveway was not compacted properly or if water has washed away the sand bedding, the concrete slab is essentially “bridging” a vacuum. When a 4,000-pound SUV drives over that bridge, the concrete snaps. This is why learning how to fix cracks in concrete driveway early is vital; it prevents the water from reaching that sub-base in the first place. The PSI Limit Most residential driveways are poured to a strength of 3,000 to 4,000 PSI (Pounds per Square Inch). While this is plenty for a standard car, heavy delivery trucks or construction machinery can easily exceed this limit, causing immediate structural failure. 2. The Danger Zone: What Happens If You Ignore Cracks? Many homeowners wait until a crack is wide enough to trip over before researching how to fix cracks in concrete driveway. By then, the damage is often irreversible. The Freeze-Thaw Exploder In regions where temperatures drop below freezing, water enters the crack, turns to ice, and expands by approximately 9%. This exerts thousands of pounds of pressure against the walls of the crack, forcing it wider every single night. Hydrostatic Pressure Water trapped under the slab can push upward (heaving), especially during heavy monsoon seasons or rapid snowmelts. This pressure can tilt entire slabs, creating dangerous trip hazards. Vegetation Sabotage Wind-blown dirt fills open cracks, creating a perfect seedbed for weeds. As roots grow, they act like biological wedges, slowly prying the concrete apart from the inside out. Knowing how to fix cracks in concrete driveway gaps prevents this “biological weathering.” 3. Material Science: Choosing the Right Sealant Stop using cheap “hardware store” mortar. If you want to know how to fix cracks in concrete driveway permanently, you need to understand polymers. Polyurethane Sealants (The Gold Standard) Polyurethane is a reactive polymer that stays flexible once cured. Since driveways move, you need a material that can stretch and compress. Polyurethane bonds chemically to the concrete walls, creating a waterproof seal. Epoxy Resins If the crack is on a vertical surface or requires structural “gluing,” epoxy is the answer. It is stronger than the concrete itself once cured, though it lacks the flexibility of polyurethane. Self-Leveling vs. Non-Sag 4. The Professional Tool Kit Gather these items before you begin. Having the right tools is 50% of the battle when learning how to fix cracks in concrete driveway. 5. Step-by-Step Restoration: How to Fix Cracks in Concrete Driveway Step 1: Deep Cleaning and Preparation Start by scrubbing the crack with a wire brush. If there is moss or deep-seated dirt, use a pressure washer. Important: If you use water, you must wait at least 24–48 hours for the concrete to be bone-dry. Most sealants will not bond to a damp surface. Step 2: The Undercutting Technique (The Pro Secret) Most DIYers just pour filler into a thin crack. To truly understand how to fix cracks in concrete driveway, you must use the “Undercut.” Use a hammer and chisel to widen the crack slightly, creating an inverted “V” shape (wider at the bottom than the top). Step 3: Removing the Dust After chiseling, the crack will be full of fine white powder. This powder acts like a “release agent” that prevents the sealant from touching the concrete. Use a shop vac to get the crack perfectly clean. Step 4: Installing the Backer Rod If your crack is deeper than 1/2 inch, do not fill it entirely with sealant. Press a foam backer rod into the crack until it sits about 1/4 inch below the surface. This ensures “two-point” bonding (the sealant sticks to the two side walls but doesn’t get sucked into the bottom of the crack). Step 5: Applying the Sealant Apply your chosen polyurethane filler. Start at the highest point of the driveway and work down. Let the material flow and settle. Following this professional process is the most effective way for how to fix cracks in concrete driveway permanently. Step 6: The Texture Match Fresh sealant is often shiny. While the sealant is still tacky, you can lightly sprinkle a bit of fine sand over it or brush it with a stiff-bristled broom to match the surrounding rough texture. 6. Comprehensive Troubleshooting Guide Even with a guide on how to fix cracks in concrete driveway, issues can arise. My Filler is Bubbling This usually happens if the concrete was damp or if the temperature was too high during application. The “outgassing” of the concrete creates air pockets in the sealant. The Sealant is Sinking You likely skipped the backer rod. Without a solid base, the liquid sealant will continue to sink into the sub-grade until it cures, leaving a dip in