
A driveway can look perfectly fine in November and completely different by April. That’s a pattern a lot of New Hyde Park homeowners run into. The pavers held up all fall, then winter happens, and by the time the snow is gone, there’s sand missing between the joints, a paver or two sitting slightly lower than the rest, and maybe a puddle near the garage that wasn’t there before.
None of that necessarily means something went wrong with the installation. It usually just means the driveway went through a full New York winter without much attention, and small things that get overlooked tend to show up all at once once the weather warms.
So what maintenance do driveway pavers actually need throughout the year? The honest answer is that it’s not complicated, but it does need to happen on a schedule that matches the seasons here, not a generic list written for a warmer climate. Long Island winters, spring rain, summer heat, and fall leaf drop each put a different kind of stress on interlocking pavers, and the maintenance that matters changes with them.
Why Seasonal Maintenance Matters for Paver Driveways in New Hyde Park
Pavers are built to handle a lot. They’re individual units set on a compacted base with sand-filled joints, which is actually part of why they hold up well over time compared to poured concrete or asphalt. Individual pavers can move slightly and settle back without cracking the whole surface the way a solid slab would.
But that same flexibility is also why ongoing care matters. Joint sand isn’t permanent. It washes out with rain, gets displaced by snow removal, and slowly erodes with regular foot and vehicle traffic. Once enough sand is gone, the pavers next to that joint have less support and start to shift under load. Add a New York winter’s freeze-thaw cycle into that equation, where water gets into small gaps, freezes, expands, and thaws again, sometimes dozens of times between December and March, and you’ve got a good explanation for why driveways that seemed stable in the fall show real movement by spring.
None of this is dramatic on its own. A little settled joint sand or a slightly uneven paver isn’t a structural emergency. The issue is what happens when it’s ignored for a few seasons in a row. Small problems that would take twenty minutes to fix in year one can turn into a section of driveway that needs to be pulled up and reset by year three. Seasonal maintenance is really just about catching those small things while they’re still small.
Spring Maintenance
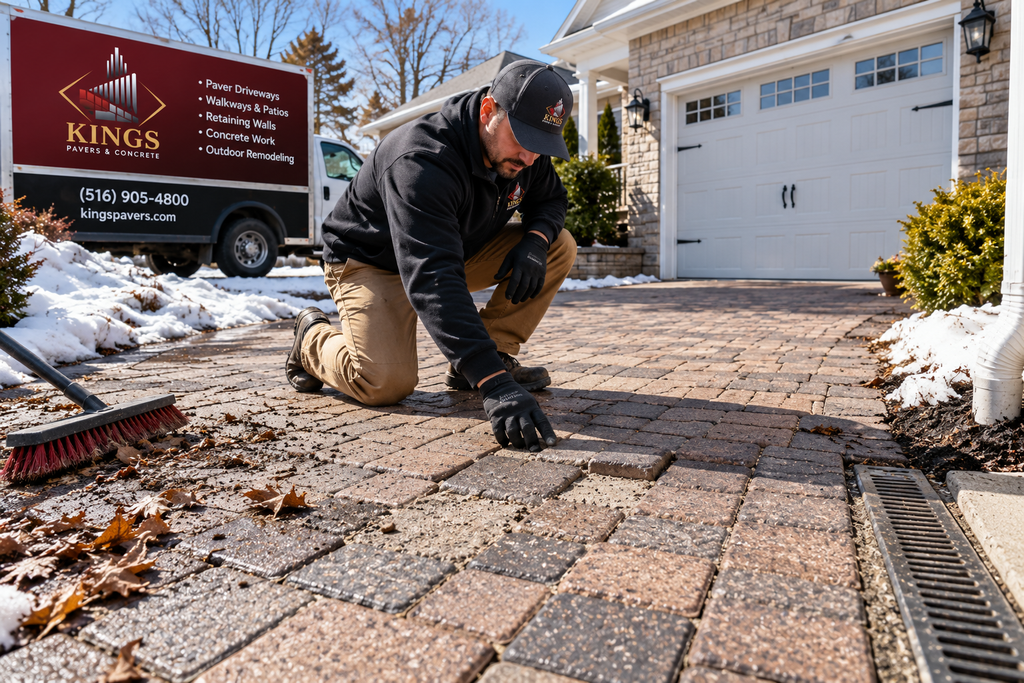
Spring is when a New Hyde Park driveway shows its hand. After a winter of snow, ice melt, and freeze-thaw cycles, this is the best time to actually look at the surface closely rather than just clearing off winter grime.
Start with a general inspection. Walk the length of the driveway and look for pavers that have shifted, sunken, or tilted compared to the ones around them. Check the joints for sand loss, especially near the edges of the driveway and around drainage points, since those areas tend to lose material fastest.
A few things worth doing each spring:
- Sweep or hose off accumulated dirt, sand, and any residue from winter deicing products
- Look closely at low spots or areas near downspouts where snowmelt would have pooled
- Check joint sand levels and top off any joints that look thin or empty
- Confirm that water is draining away from the house and off the driveway surface rather than sitting in puddles
- Note any pavers that feel loose underfoot, even if they look fine visually
Replacing joint sand in spring is one of the simplest things a homeowner can do, and it makes a real difference. Sand that’s been washed out over winter needs to be replaced before summer rain and heat set in; otherwise, weeds tend to move into those gaps instead.
Summer Maintenance
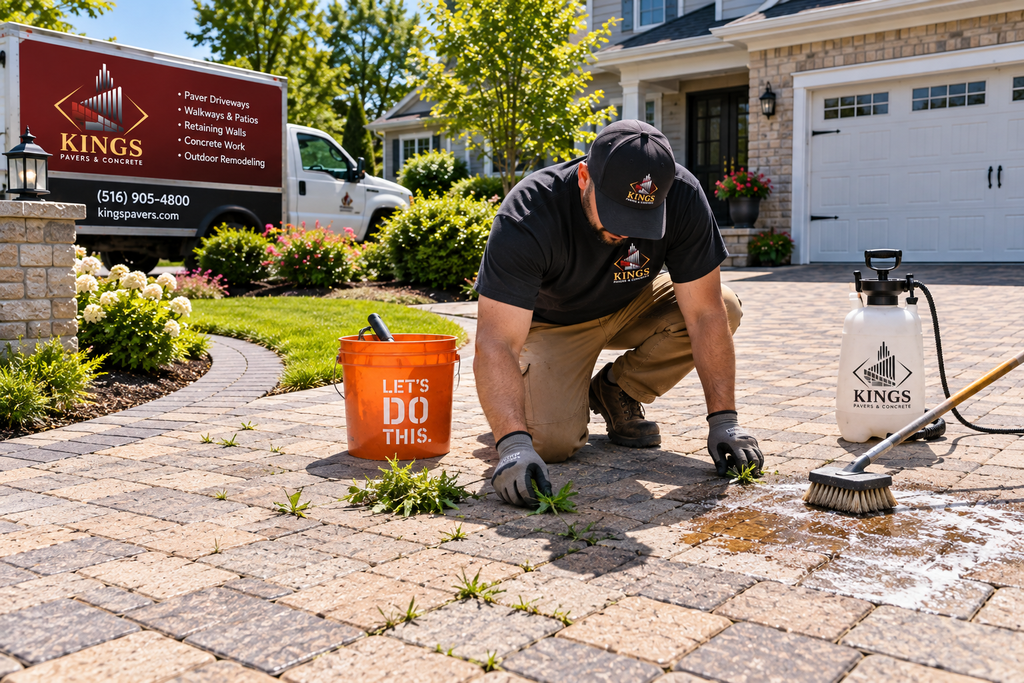
Summer maintenance for paver driveway maintenance in New Hyde Park is more about staying on top of things than fixing anything major. The heat and sun exposure through July and August aren’t usually hard on the pavers themselves, but they do bring their own set of routine issues.
Weeds are probably the most common one. Once joint sand is a little low, seeds find their way in and take advantage of the warm weather. Pulling them early, before the root system gets established, is a lot easier than dealing with them once they’ve spread across several joints.
Staining is the other summer issue that comes up regularly, whether it’s from a car that’s been leaking a little oil, a grill that got moved onto the driveway for a cookout, or general outdoor activity. Most surface stains can be handled with the right cleaner for the type of stain and a stiff brush, without needing anything aggressive.
This is also the season people start asking about paver sealing, and it’s worth being straightforward about it. Sealing has real benefits: it can make cleaning easier, help resist staining, and improve the color of the pavers. But it’s not something that needs to happen every single year, and it’s not a fix for structural problems like sinking or poor drainage. If the joint sand is in good shape and the surface isn’t heavily stained or faded, there’s no urgency to reseal just because a season has passed. It’s worth evaluating case by case rather than treating it as an annual requirement.
Fall Maintenance
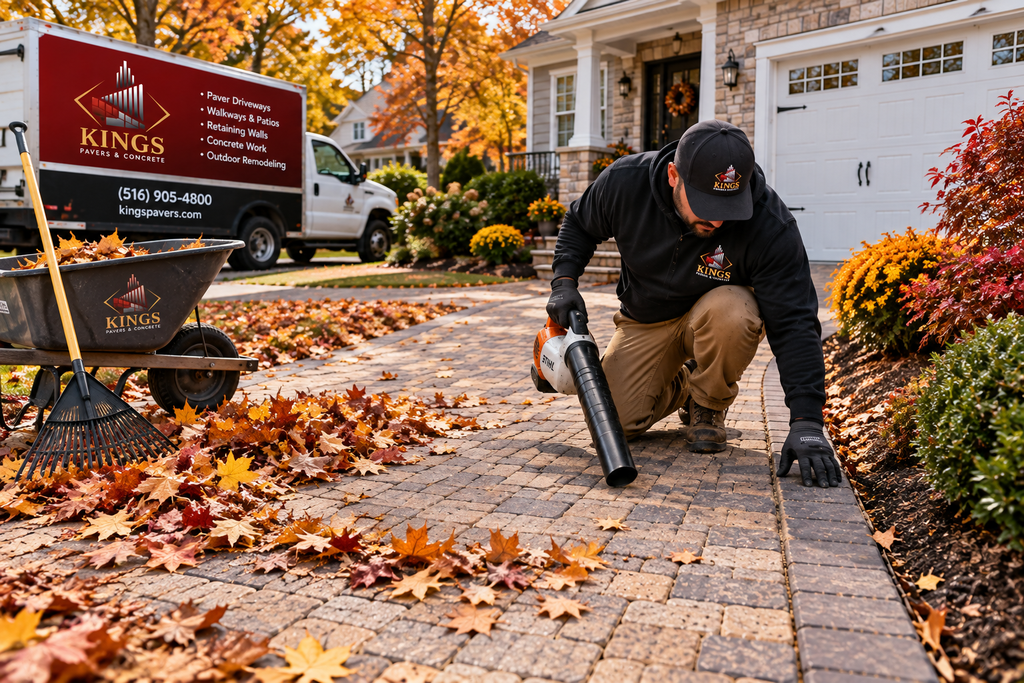
Fall is really about getting the driveway ready for winter, and it’s arguably the most important seasonal maintenance window of the year, since it’s the last real chance to fix small things before freezing temperatures make everything harder to work with.
Leaves and organic debris need to come off regularly, not just once at the end of the season. Wet leaves sitting on pavers can hold moisture against the surface and contribute to staining, and if they collect over a drain or low point, they can interfere with drainage right when heavy fall rain is more likely.
This is a good time to clean any stains that built up over the summer, since it’s easier to do now than after the surface has been sitting under snow for a few months. It’s also worth checking the edges of the driveway and any border pavers, since edge restraints can loosen over a year of use and are much easier to reset in October than in January.
If there’s a paver that’s clearly sunken, a joint that’s lost most of its sand, or a drainage issue that showed up during a heavy fall rain, fall is the time to deal with it. Fixing those things before the ground freezes prevents water from sitting in that spot all winter and making the problem worse through repeated freeze-thaw cycles.
Winter Maintenance
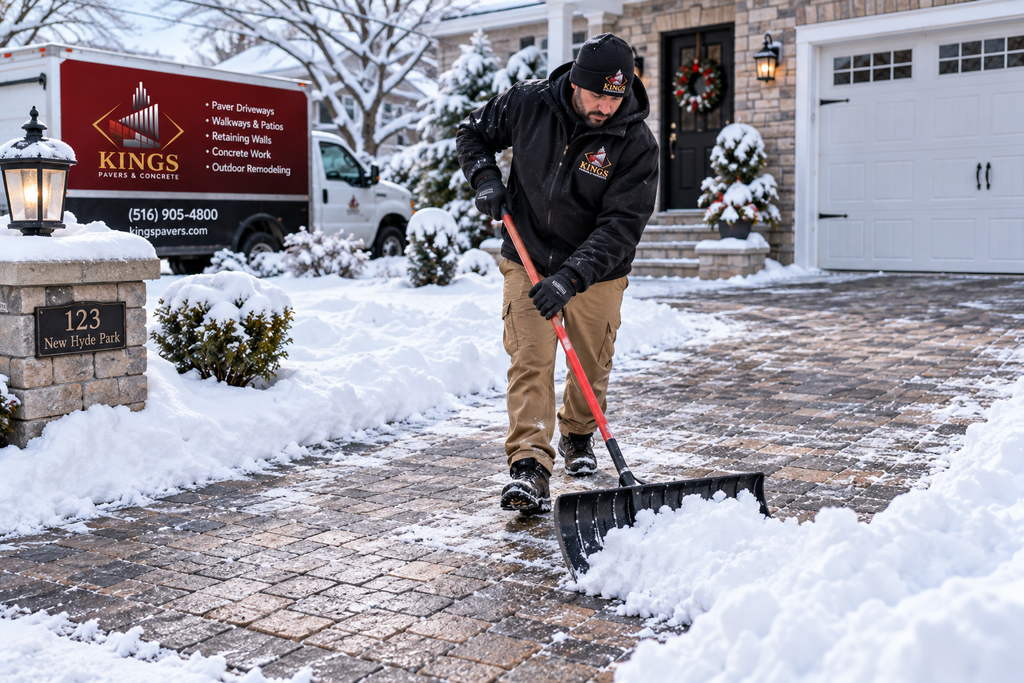
Winter is when a lot of the accidental damage to paver driveways happens, and most of it comes from how snow and ice are removed rather than from the cold itself.
Plastic shovels or snow blowers with a plastic or rubber edge are a better choice than metal shovels or blades, which can chip or scratch the paver surface if they’re dragged aggressively across it. It’s a small detail, but repeated seasons of scraping with a metal edge can visibly wear down paver corners over time.
Deicing products deserve some thought too. Rock salt and other chloride-based products can be tough on paver surfaces and surrounding landscaping if they’re used heavily and repeatedly. Calcium magnesium acetate and similar pet- and plant-safe alternatives tend to be gentler, though they usually cost more. Whatever product is used, less is generally better than more.
The freeze-thaw cycle is the main thing to keep an eye on all winter. Any spot where water tends to collect, whether that’s a low corner of the driveway or an area near a downspout, is worth watching. When that water freezes and thaws repeatedly over the course of the season, it can gradually push pavers out of alignment in that specific area, even if the rest of the driveway is fine. If the same spot floods every time it rains or snow melts, that’s more of a drainage issue than something regular maintenance can solve on its own, and it’s worth making a note of it for spring.
Signs That Routine Maintenance May No Longer Be Enough
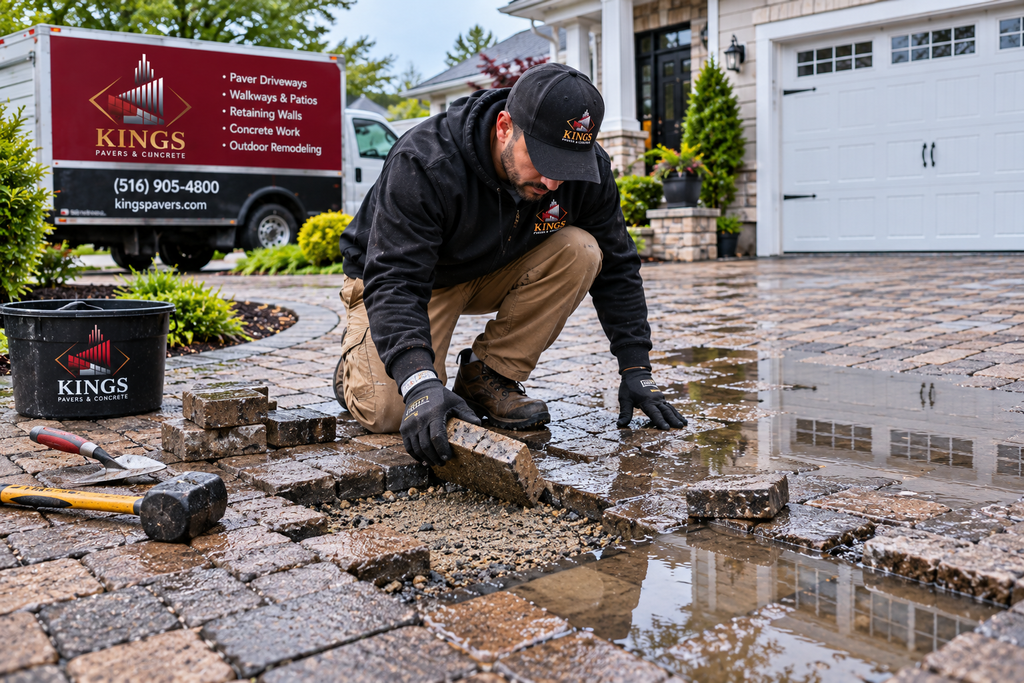
Most of what’s covered above is genuinely manageable as routine upkeep. But there’s a point where a driveway issue stops being a maintenance item and starts being a repair issue, and it helps to know the difference.
Some signs worth paying attention to:
- A paver or section that keeps sinking again after being releveled
- Multiple loose pavers in the same general area
- A noticeably uneven section large enough to be a trip hazard
- Standing water that doesn’t drain within a reasonable time after rain
- Edge pavers pulling away from the rest of the driveway
- Joints that have lost so much sand that pavers are visibly shifting against each other
- A problem that keeps coming back even after being patched or refilled
Any one of these on its own might just need a straightforward repair. But when they show up together, or when the same spot keeps failing after being fixed, it usually points to something underneath the surface, like a base that’s washed out or settled unevenly, or a drainage problem that’s feeding water into that area repeatedly. At that point, topping off sand or resetting a single paver isn’t going to hold, and it’s worth having someone take a proper look at what’s happening below the surface rather than repeating the same fix every season.
Seasonal Maintenance at a Glance
| Season | What to Check | Recommended Maintenance | Problems to Watch For |
| Spring | Post-winter surface condition, joint sand levels, drainage after snowmelt | Clean debris, inspect for shifted pavers, refill joint sand, confirm drainage flow | Sunken pavers, empty joints, pooling near downspouts |
| Summer | Weed growth, stains, joint condition | Routine cleaning, weed removal, spot stain treatment, evaluate need for sealing | Weeds established in joints, stubborn stains, joint sand loss from traffic |
| Fall | Leaf and debris buildup, edges, drainage before freeze | Clear leaves regularly, clean stains, check edge restraints, fix small issues early | Wet leaves trapping moisture, loosened edge pavers, minor sinking left unaddressed |
| Winter | Snow and ice buildup, areas prone to standing water | Use plastic tools for snow removal, use deicers sparingly, monitor freeze-thaw spots | Chipped pavers from metal tools, repeated icing in the same low spot |
A Practical Step-by-Step Maintenance Routine
If you’re doing a seasonal check yourself, a simple routine covers most of what matters:
- Clear debris. Sweep off dirt, leaves, or sand buildup so you can actually see the surface.
- Inspect the surface. Walk the driveway and look for pavers that sit higher, lower, or at a different angle than their neighbors.
- Check joints and edges. Look for sand loss between pavers and any movement at the border or edge restraints.
- Check drainage. After a rain, note whether water moves off the surface or collects anywhere.
- Clean stains appropriately. Use a cleaner suited to the stain type rather than reaching for the strongest option available.
- Replace lost joint material. Top off polymeric or regular joint sand where it’s visibly thin or missing.
- Identify movement or settlement. Flag any area that’s shifted since the last inspection, even slightly.
- Decide on DIY versus professional repair. Minor sand refills and cleaning are reasonable to handle yourself. Repeated sinking, larger uneven sections, or persistent drainage problems are worth having evaluated.
A Realistic Example
Consider a typical New Hyde Park driveway installed a handful of years ago that’s mostly done fine, aside from one corner near the bottom of a slight grade. Over a couple of winters, joint sand in that section gradually washed out with snowmelt runoff, and nobody topped it off in the following springs. Without that sand holding things in place, a few pavers in the corner had a little more room to shift under the weight of cars pulling in and out.
Each winter, water collected in that same low spot, froze, expanded, and thawed again. By the third year, that corner had a noticeable dip and a couple of pavers that rocked slightly underfoot.
If that section had been checked each spring, with joint sand replaced and the drainage in that corner addressed early, it likely would have stayed a minor annual task. Left alone, it turned into a repair job involving pulling up a section of pavers, checking and correcting the base underneath, and resetting them properly. That’s the general pattern with paver issues: catching them early usually means a small fix, while ignoring them tends to mean a bigger one later.
Expert Tip: When you’re topping off joint sand yourself, work it in with a light misting of water afterward rather than dumping it in dry. This helps it settle into the joint properly instead of sitting loosely on top, where it’s more likely to wash right back out with the next rain.
Common Mistakes Property Owners Make
Ignoring standing water. A puddle that shows up in the same spot after every rain isn’t just a cosmetic annoyance. It’s usually a sign of a drainage or grading issue, and leaving it alone means that spot is getting more freeze-thaw stress than the rest of the driveway every winter.
Letting joint sand disappear completely. It’s easy to not notice joint sand loss until it’s significant, since it happens gradually. Once it’s mostly gone, pavers lose the lateral support that keeps them from shifting, and the fix becomes more involved than a simple top-off.
Using the wrong cleaning approach. Pressure washing on too high a setting, or holding the nozzle too close to the surface, can blast joint sand out and even etch or damage some paver surfaces. A lower pressure setting and a wider nozzle angle work better for routine cleaning.
Waiting too long on sinking pavers. A single sunken paver is a quick fix. A section that’s been sinking for two or three seasons often means the base underneath has shifted, which takes more work to correct properly.
Assuming sealing solves everything. Sealing helps with appearance, staining resistance, and ease of cleaning, but it doesn’t fix a settling base or a drainage problem. Sealing over a structural issue just means the same problem shows up again later, now under a sealed surface.
Using inappropriate winter tools or products. Metal shovels and heavy rock salt use aren’t the end of the world in moderation, but repeated seasons of aggressive scraping or heavy salt application can visibly wear pavers down and affect nearby joints and plantings faster than they otherwise would.
Frequently Asked Questions
How often should driveway pavers be maintained?
A general inspection and cleaning two to four times a year, roughly aligned with the seasons, covers most of what a paver driveway needs. Spring and fall tend to be the most important checkpoints.
How do you maintain driveway pavers in winter?
Use plastic or rubber-edged tools for snow removal instead of metal shovels, apply deicing products sparingly, and keep an eye on any spot where water tends to collect and refreeze.
Should driveway pavers be sealed?
Sealing can help with stain resistance and appearance, but it’s not required every year and won’t fix drainage or settlement issues. Whether it’s worth doing depends on the current condition of the pavers and joints.
How often should joint sand be replaced?
This varies by driveway, but checking joint sand levels each spring and fall, and topping it off wherever it looks thin, keeps most driveways in good shape without needing a full re-sand very often.
Why are my driveway pavers sinking?
Sinking is usually related to the base underneath settling unevenly, often from water getting underneath the pavers through lost joint sand or a drainage issue nearby. A single sunken paver can often be reset, but repeated sinking in the same area points to a base problem worth having looked at.
Can pressure washing damage driveway pavers?
It can, if the pressure is too high or the nozzle is held too close to the surface. Both can strip out joint sand or mark certain paver finishes. A lower-pressure, wider-angle approach is generally safer for routine cleaning.
How long can driveway pavers last with proper maintenance?
Well-maintained paver driveways commonly last for decades, since you can reset or replace individual pavers as needed rather than redo the whole surface. Consistent seasonal upkeep is what makes that longevity realistic.
When to Call in a Professional
Most of what keeps driveway pavers in New Hyde Park looking and performing well is routine: seasonal cleaning, keeping joints filled, watching drainage, and using the right tools in winter. That kind of upkeep is well within reach for most homeowners.
But if you’re dealing with repeated sinking, loose pavers that won’t stay put, standing water that doesn’t go away, or a driveway that seems to need the same fix every season, it’s worth having it evaluated rather than continuing to patch the surface. Reach out, and we can take a look at what’s actually going on underneath and talk through what makes sense for your driveway.