
I get this question more than almost any other: “Can’t we just skip the digging part?”
I understand why. Digging out a patio area is the part homeowners dread most. It’s slow, it’s dirty, and if you’re doing it yourself on a Saturday, it can turn into a weekend you’d rather forget. So the idea of a no-dig paver patio sounds like a dream: less labor, less mess, and pavers down in a fraction of the time.
Here’s the honest answer, from someone who has put in hundreds of patios across New York: yes, you can build a paver patio without digging in the traditional sense. But it only works in certain situations, and it comes with real trade-offs. I’ve seen homeowners save themselves a weekend of backbreaking work with this method. I’ve also seen patios sink, shift, and heave after one New York winter because someone skipped a step they didn’t know mattered.
This guide walks through when a no-dig paver patio installation makes sense, when it doesn’t, and how to do it right if you decide to go that route.
Can You Really Build a Paver Patio Without Digging?
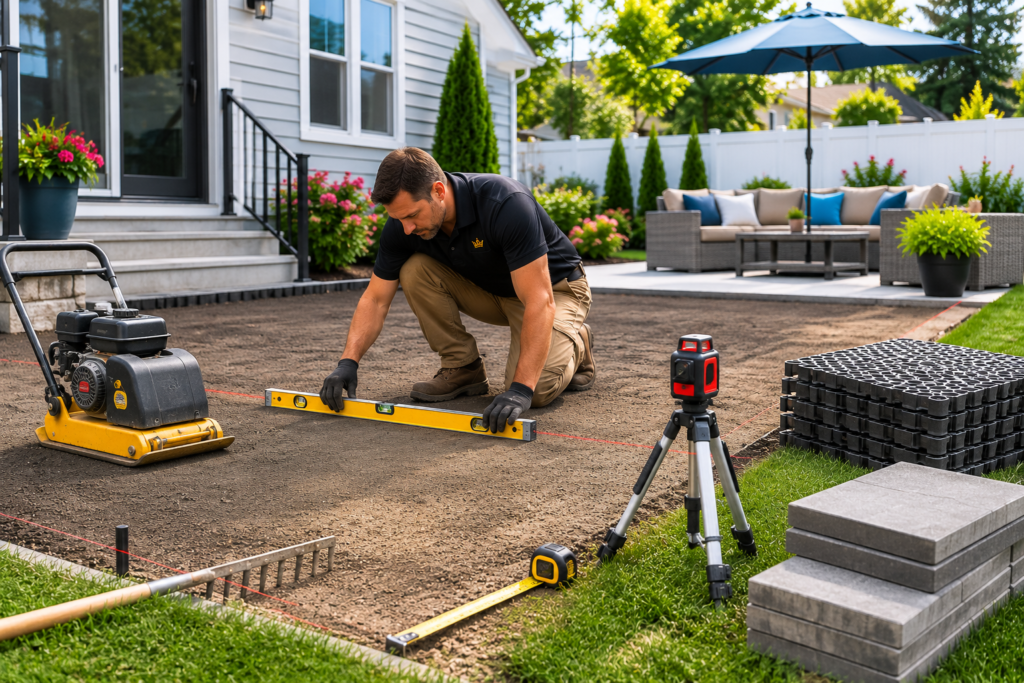
Technically, yes. But “no dig” doesn’t mean “no prep.” That’s the part that gets lost in a lot of the DIY videos out there.
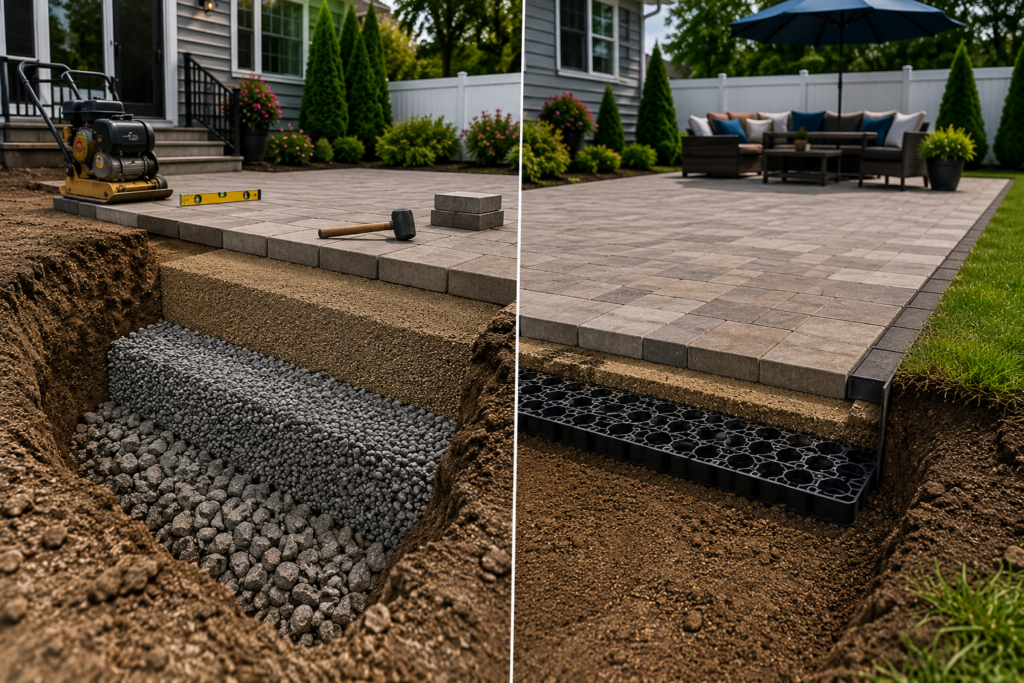
A traditional installation removes several inches of soil, replaces it with compacted gravel, and builds a stable base from the ground up. A no-dig paver patio installation instead relies on the existing surface usually a flat lawn, a compacted dirt area, or an old patio slab and adds a shallow leveling layer or interlocking base panel system directly on top.
This only works if a few things line up:
The surface has to already be reasonably flat. I’m talking about maybe an inch of variation across the whole area, not more. If your yard slopes toward the house or has low spots that pool water after rain, a no-dig method is going to bake those problems right into your new patio.
Drainage has to already be working. No-dig installs don’t fix drainage issues; they sit on top of whatever drainage situation already exists. If water sits in your yard now, it’ll sit under your pavers later.
Soil type matters more than people expect. Sandy or well-draining soil handles a shallow base reasonably well. Heavy clay soil, which is common in a lot of the older neighborhoods I work in around New York, expands and contracts with moisture and freeze-thaw cycles. That movement is exactly what a shallow no-dig base struggles to handle over time.
Here’s how the two approaches compare side by side:
| Traditional Installation | No-Dig Installation |
| Removes 6–9 inches of soil | Minimal to no soil removal |
| Full compacted gravel base | Thin leveling layer or base panels |
| Handles slopes and drainage issues | Requires an already-flat, well-drained site |
| Works on any soil type | Best on sandy or well-draining soil |
| Longer install time (2–5 days) | Faster install (1–2 days for small areas) |
| Higher upfront labor cost | Lower labor cost |
| 20+ year lifespan when done right | 5–10 years, site dependent |
| Handles heavy loads (kitchens, fire pits) | Best for light foot traffic areas |
That table tells the real story. No-dig isn’t a shortcut version of the same result; it’s a different product with a different lifespan, built for a narrower set of conditions.
Pros and Cons of Building a No-Dig Patio
Advantages
- Much faster to install, especially for small patios or walkway extensions
- Less physical labor and less soil disposal to deal with
- Lower material and equipment costs
- A reasonable option for renters or short-term homeowners who don’t want to invest in a permanent structure
- Good fit for temporary or seasonal outdoor living space upgrades
Disadvantages
- Shorter lifespan than a properly excavated patio
- More prone to settling in freeze-thaw climates like New York’s
- Can’t correct existing slope or drainage problems
- Not rated for heavy loads; outdoor kitchens, hot tubs, or large fire pits will stress a shallow base
- Harder to fix once it starts failing, since there’s less structural base to work with
Best Applications
Small seating areas, a patch of ground under a table and chairs, garden paths, temporary layouts you might redo in a few years, or areas where you’re testing out a layout before committing to a full installation.
When Not Recommended
Sloped yards, clay-heavy soil, anywhere water already collects, large patios meant for daily heavy use, or any space that’ll carry a grill station, pergola footings, or built-in seating.
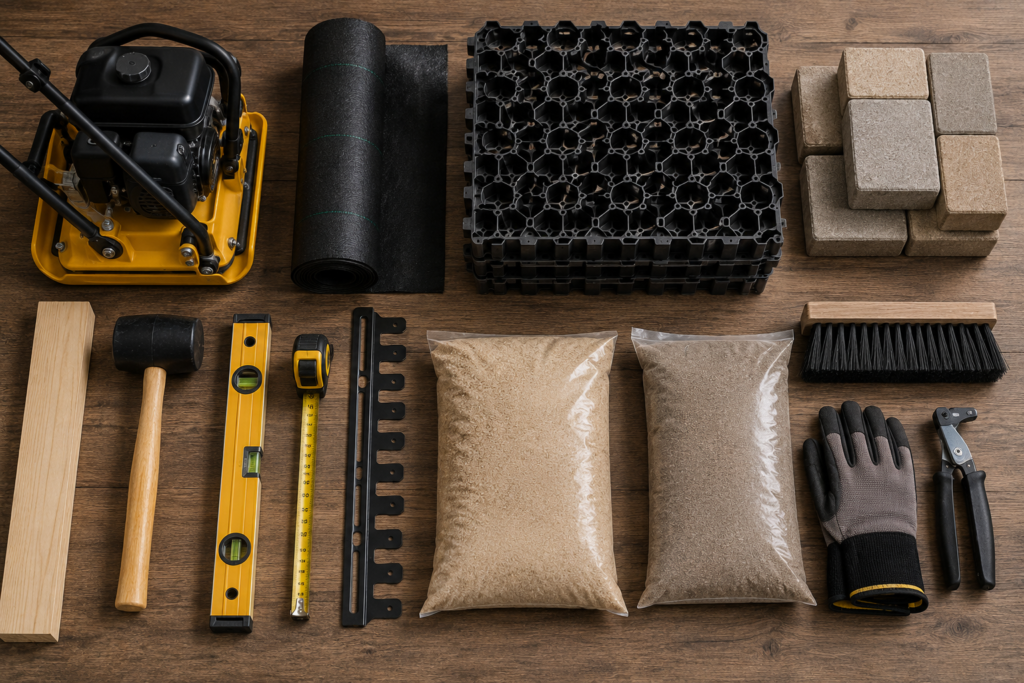
Tools and Materials You’ll Need
| Tool | Purpose |
| Plate compactor | Compacts the base layer and sets the pavers |
| Rubber mallet | Taps pavers into place without cracking them |
| Level (4-foot) | Checks flatness across the surface |
| Paver base panels or landscape fabric | Creates the leveling layer on top of existing ground |
| Screed rail or straight 2×4 | Levels the leveling material evenly |
| Wet saw or paver splitter | Cuts edge pieces to fit |
| Broom | Spreads and works joint sand into paver gaps |
| Garden hose | Rinses and settles joint sand |
| Material | Why It’s Needed |
| Paver base panels (interlocking) | Provides a stable, load-distributing layer without excavation |
| Bedding sand or leveling sand | Fills small surface irregularities and helps pavers sit level |
| Polymeric jointing sand | Locks pavers together and resists weeds and ants |
| Edge restraints (plastic or metal) | Keeps pavers from spreading outward over time |
| Landscape fabric | Blocks weed growth from underneath |
| Pavers | The finished surface: concrete, natural stone, or clay brick |
Step-by-Step Guide
Step 1: Choose the location. Walk the space at different times of day. Watch where water naturally runs after a rainstorm; that’s information you won’t get from just looking at dry ground.
Step 2: Measure the patio. Measure the full area and add a small buffer, usually 3–4 inches per side, to account for edge restraints and cutting.
Step 3: Prepare the surface. Remove grass, weeds, roots, and any loose debris. The surface underneath needs to be firm, not soft or spongy. If you press your heel into the ground and it sinks, that spot needs attention before you go any further.
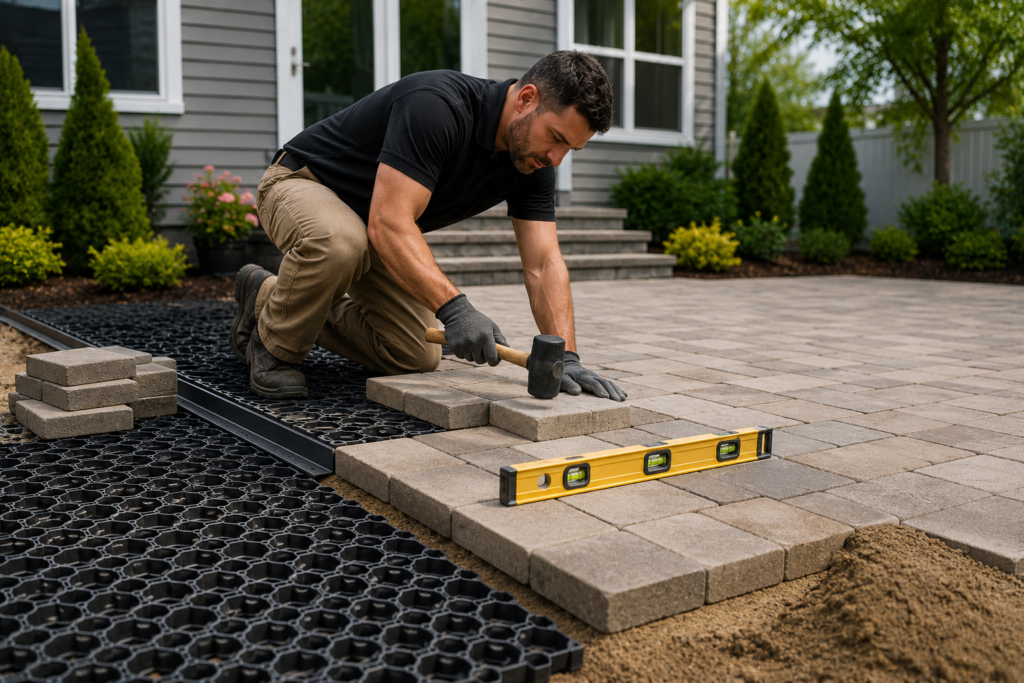
Step 4: Install the base panels or leveling material. Lay interlocking base panels or spread a thin, even layer of bedding sand across the prepared surface. This is the layer that determines how flat your finished patio will be, so take your time here.
Step 5: Lay the pavers. Start from a corner or straight edge and work outward in your chosen pattern. Check level every few rows, not just at the end.
Step 6: Cut edge pieces if necessary. Use a wet saw or paver splitter for clean cuts along borders and curves. Dry-fit pieces before cutting to avoid wasting material.
Step 7: Install edging restraints. Secure the perimeter with edge restraints, staked into the ground beneath the pavers. Skip this step, and you’ll see gaps forming within a season or two.
Step 8: Spread joint sand. Sweep polymeric sand into the joints between pavers, working it in with a broom until the gaps are filled.
Step 9: Compact and finish. Run the plate compactor over the surface to set everything in place, then lightly mist with water to activate the polymeric sand if that’s what you used.
Common DIY Mistakes
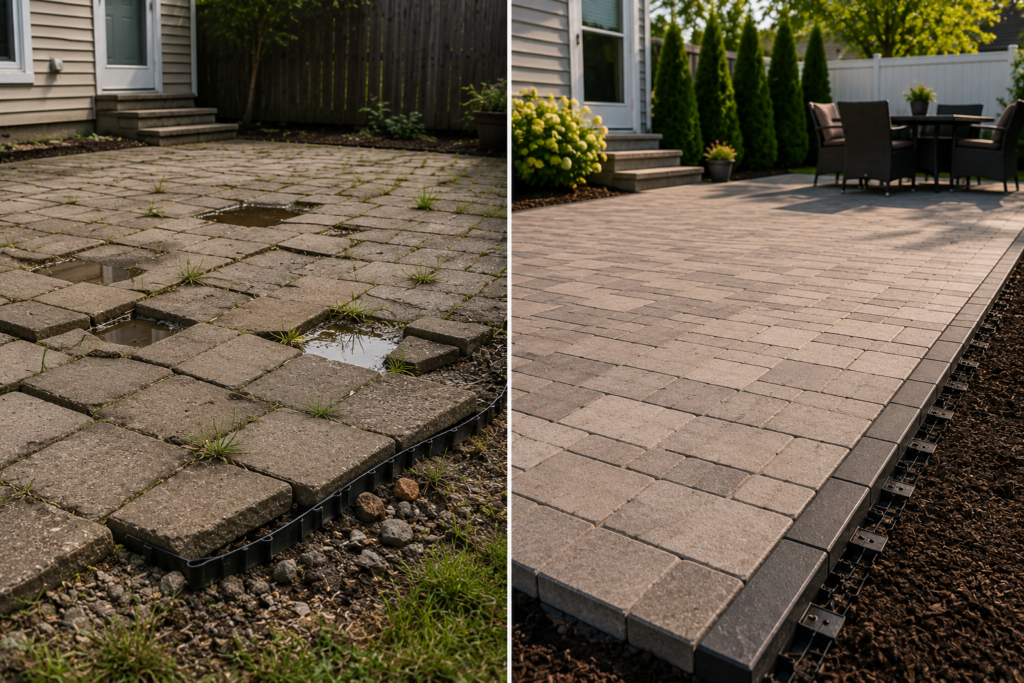
I’ve walked into a lot of backyards to fix patios that homeowners installed themselves. The same handful of mistakes show up again and again.
Uneven surface. People eyeball it instead of using a level. A patio that looks flat standing up can have a noticeable dip once furniture and foot traffic settle it further.
Poor drainage. If water was already pooling in that spot, it’s still going to pool; now it just does it under your pavers, which is worse because you can’t see it happening.
Skipped edging. This is the one I see most often. Edging feels optional when everything’s freshly installed and tight. Give it a year of freeze-thaw cycles and foot traffic, and pavers on the outer rows start to drift outward, opening gaps.
Incorrect sand. Regular play sand or all-purpose sand isn’t the same as polymeric jointing sand. It washes out with rain and doesn’t lock the pavers together the same way.
Weak base. A base layer that’s too thin, or skipped entirely in favor of just laying pavers on dirt, leads to uneven settling within the first year, sometimes the first season.
How Long Will a No-Dig Patio Last?
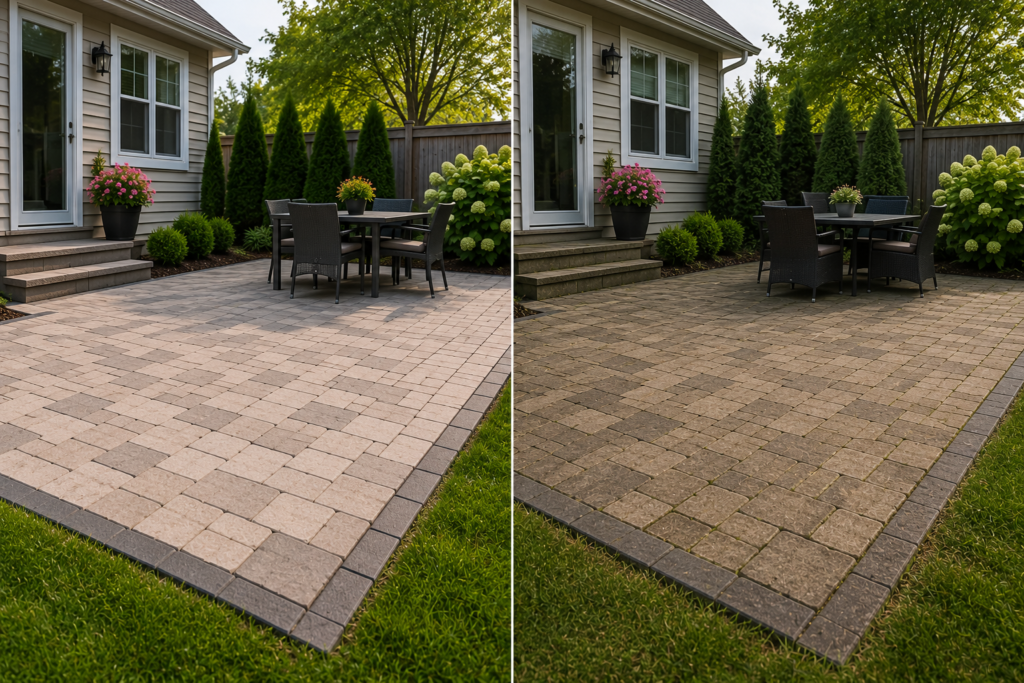
This depends on more than the installation method itself.
Climate plays a big role here. New York winters bring repeated freeze-thaw cycles, and that movement is hard on a shallow base. A no-dig patio in a milder, drier climate will generally outlast one here.
Maintenance matters too: resealing, keeping joint sand topped off, and addressing small shifts early instead of letting them compound.
Foot traffic determines wear. A patio that sees daily use from a family with kids and pets will show settling faster than a decorative garden nook that gets light use.
Installation quality is the biggest factor of all. A carefully leveled, well-edged no-dig patio can hold up for 8–10 years. A rushed one can start showing problems within a single season.
Realistically, plan for somewhere between 5 and 10 years from a no-dig install, compared to 20+ years from a properly excavated one.
When You Should Hire a Professional Instead
There are situations where I’d tell a homeowner straight out: don’t try the no-dig route, and honestly, don’t try to DIY this at all.
- Sloped yards: grading needs equipment and experience to get right
- Clay soil: needs a proper base to handle expansion and contraction
- Poor drainage: needs to be corrected at the source, not covered up
- Large patios: more square footage means more room for small errors to become big problems
- Heavy outdoor kitchens or fire features: these need a load-bearing foundation, not a shallow leveling layer
- Commercial projects: liability and durability requirements are a different conversation entirely
If your project falls into any of these categories, it’s worth getting a quote from a paver patio installation contractor before you buy a single bag of base panels.
Expert Insight
I asked one of the crew leads I’ve worked with for years, someone who’s set more pavers than he’d probably like to count, what he wishes every homeowner understood before starting a project like this.
His answer was simple: most patio failures don’t come from the pavers themselves. They come from what’s underneath them, and homeowners spend all their attention picking out paver colors and patterns while the base the part nobody sees once it’s finished gets rushed or skipped. Site preparation isn’t the exciting part of the job, but it’s the part that decides whether the patio is still level in five years or needs to be redone.
Maintenance Tips
Cleaning. Sweep debris regularly and rinse with a hose. A pressure washer works, but keep it on a wide, low-pressure setting so you don’t blast out the joint sand.
Weed prevention. Polymeric sand helps, but check joints each spring and refresh any spots where sand has washed away or eroded.
Joint sand maintenance. Top off joint sand every year or two, especially in high-traffic areas where it wears down faster.
Resealing. A sealant every 2–3 years helps protect against staining and makes cleaning easier, though it’s optional depending on paver type.
Seasonal inspection. Walk the patio each spring after winter thaw. Look for shifted pavers, gaps at the edges, or low spots. Catching these early is a lot easier than fixing a patio that’s been settling unnoticed for years.
Frequently Asked Questions
Can you build a paver patio without digging? Yes, on the right site. It works best on ground that’s already flat, well-draining, and free of major slope or soil issues.
How long will a no-dig patio last? Typically 5–10 years, depending on climate, soil, maintenance, and how well the installation was done.
Does a no-dig patio sink? It can, especially in areas with heavy foot traffic, poor drainage, or a base layer that was installed too thin.
What is the best base? Interlocking paver base panels or a properly compacted leveling sand layer, paired with solid edge restraints around the entire perimeter.
Can you install pavers directly on grass? Not directly. Grass and roots need to be removed first, even in a no-dig installation, or the ground underneath will keep shifting as the grass decomposes.
Can this method handle New York winters? It can, but freeze-thaw cycles are harder on a shallow base than they are on a fully excavated one. Expect a shorter lifespan here compared to milder climates.
Conclusion
A no-dig paver patio isn’t a shortcut version of a real patio; it’s a different approach that fits specific situations well and falls short in others. If your yard is already flat, drains well, and you’re building a smaller, lighter-use space, it’s a legitimate option that can save time and money. If you’re dealing with slope, clay soil, drainage problems, or planning a larger patio with heavy features, digging and building a proper base is still the better investment.
Take an honest look at your site before deciding. The ground doesn’t lie, even when we want it to.
If you’re not sure which category your yard falls into, that’s exactly the kind of thing worth having a second set of eyes on before you start.
Thinking about a new patio this season? Reach out for a walkthrough and honest assessment of what your yard actually needs no pressure, just a straight answer.