
Can You Drive on Fresh Asphalt Road? Everything New York Property Owners Should Know
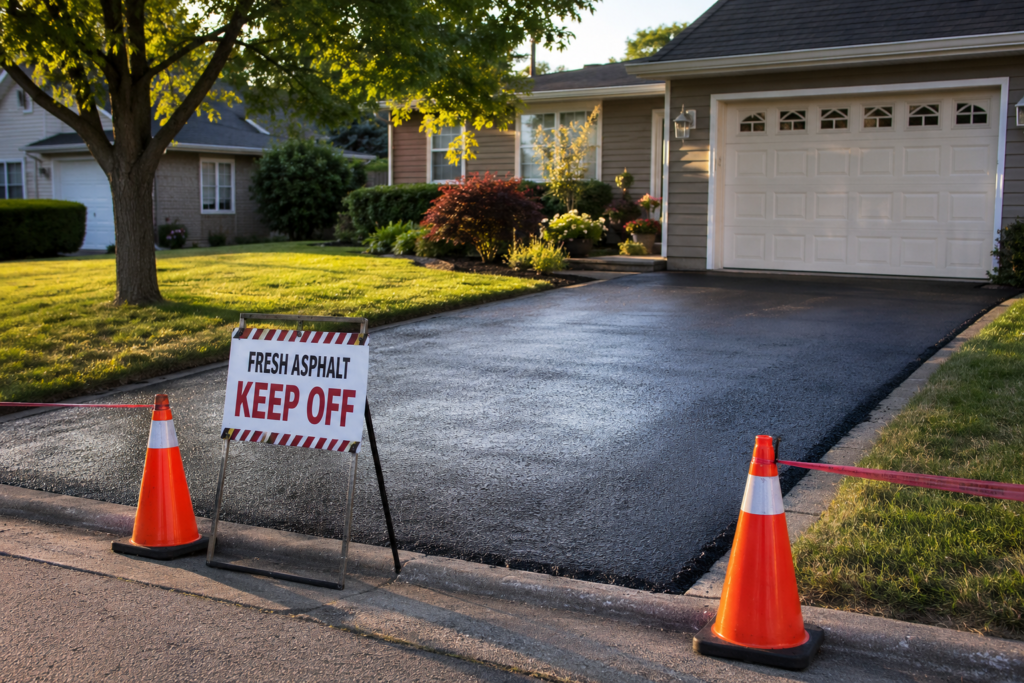
I get this question on almost every job. The crew packs up, the driveway or parking lot looks brand new, and the customer is standing there with their keys in hand asking, “So when can I actually drive on this?” It’s a fair question. You just paid good money for a fresh asphalt driveway, and naturally you want to use it. But here’s the thing: asphalt doesn’t work like paint. It doesn’t just “dry.” It cures, and that process takes longer than most people expect. Drying occurs on the surface. Curing is what happens all the way through, as the asphalt slowly hardens and gains its full strength. You can have asphalt that looks dry and solid on day one, but underneath, it’s still soft enough that a car sitting in one spot for too long will leave a permanent dent. I’ve seen it happen more times than I can count. So let’s walk through what actually matters here: how long to wait, why it matters, and how to protect your new pavement so it lasts as long as it’s supposed to. Can You Drive on Fresh Asphalt? Short answer: not right away, and definitely not the same day. For a typical residential driveway, plan on staying off it completely for at least 24 to 48 hours after installation. That’s the bare minimum. Full curing, where the asphalt reaches its maximum hardness, actually takes anywhere from 6 months to a year, but you don’t need to wait that long to drive on it. You just need to get past the early, vulnerable stage. The exact waiting period depends on a few things: the asphalt mix your contractor used, the outdoor temperature, how much sun the area gets, and what kind of project it is. A private road or commercial lot that sees heavier vehicles needs more patience than a driveway that just handles a couple of sedans. Here’s a general breakdown I give my own customers: Surface Type Recommended Waiting Time Notes Residential driveway 24–72 hours before driving, 3–5 days before regular use Avoid parking in one spot during this window Commercial parking lot 3–5 days minimum before opening to traffic Line striping usually happens after this period Private road 5–7 days before regular vehicle traffic Heavier vehicles need extra curing time Public roadway 24–48 hours for light traffic, longer for full loads Municipal specs vary by contractor and mix design These numbers assume decent weather. If it’s a scorching July afternoon or a cold, damp October morning, add some extra time. I’ll get into why in a minute. Why Fresh Asphalt Needs Time to Cure Asphalt is a mix of aggregate (stone, sand, gravel) held together by liquid asphalt cement, which is basically a petroleum-based binder. When it’s installed hot, that binder is soft and workable. As it cools, it starts to firm up; that’s the drying part, and it happens fairly fast, usually within the first day. Curing is different. It’s a slower chemical and physical process where the asphalt oxidizes and hardens all the way through. During this stage, the pavement is still somewhat flexible. That flexibility is actually a good thing long-term; it’s what lets asphalt handle temperature swings without cracking the way concrete does. But in the short term, it means the surface can still be dented, scratched, or gouged if it’s not treated carefully. If you drive on it too early, here’s what tends to happen: None of this is permanent damage in the sense that it can’t be fixed, but it’s damage you didn’t need to have, and it shows up right where you’ll see it every day for years. Factors That Affect Asphalt Curing Time I always tell customers there’s no single number that applies to every job. Curing time moves around based on real conditions on your property. Temperature matters a lot. Warm weather speeds up curing because heat helps the binder oxidize faster. Cold weather slows everything down. I’ve had jobs in late fall where the asphalt stayed soft for close to a week longer than a summer job would have. Sunlight helps too. A driveway in full sun cures faster than one shaded by a big oak tree or a north-facing wall. Humidity works against you. Moisture in the air slows the hardening process, which is one reason spring paving in New York can take a little longer than mid-summer work. Traffic volume is the one people control the most. Heavy or repeated traffic during the early curing window is the fastest way to damage new pavement. Asphalt thickness plays a role as well. A thicker base layer holds heat longer, which can actually help curing in some cases, but it also means more material needs to harden all the way through. Seasonal conditions in New York are worth calling out specifically, since our weather swings hard. Humid August days behave differently than crisp October afternoons or a rainy May week. If your asphalt paving in New York happens during a heat wave, don’t be surprised if your contractor tells you the wait is shorter than the fall job your neighbor had. Factor Speeds Up Curing Slows Down Curing Temperature Warm, sunny days Cold or freezing temps Sunlight exposure Full sun exposure Heavy shade, tree cover Humidity Low humidity, dry air High humidity, damp air Traffic Light or no traffic Heavy or repeated traffic Thickness Thinner overlay Thick base layers Season Late spring, summer Late fall, early spring, winter Step-by-Step Guide to Protect New Asphalt Step 1: Wait the recommended time before driving. Don’t guess. Ask your contractor for the specific window based on your job, and stick to it even if the surface looks ready sooner. Step 2: Avoid parking heavy vehicles immediately. Passenger cars are one thing. RVs, box trucks, and anything with a lot of axle weight need extra curing time before they sit on the surface. Step 3: Don’t make sharp turns while stationary. This is the one that catches people off guard. Turning
How Long Does Asphalt Take to Dry? A Complete Guide for New York Property Owners
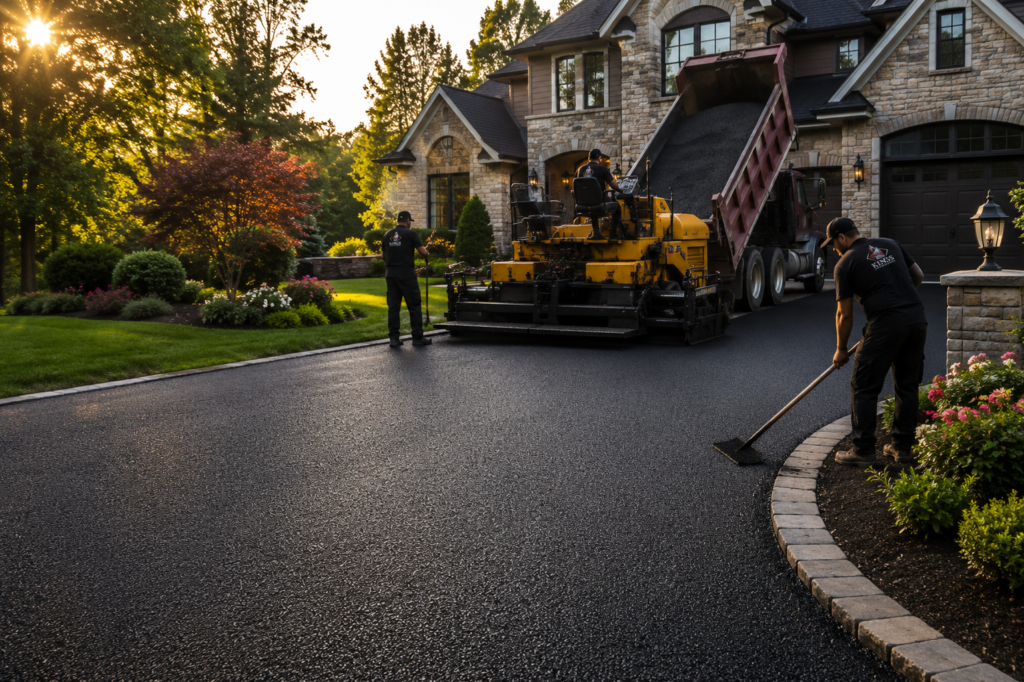
If you just had a new driveway or parking lot paved, I already know what you’re thinking. You’re standing at the edge of that smooth black surface wondering when you can actually use it. It’s the question I get asked more than any other, usually before my crew has even finished packing up the truck. Here’s the short version: asphalt dries fast, but it cures slowly. Those are two different things, and mixing them up is how a lot of good driveways end up with dents, ruts, and premature cracking. I’ve been paving driveways, private roads, and commercial lots across New York for over 20 years, and I’ve seen what happens when people get a little too excited a little too early. This guide walks you through exactly what to expect after your asphalt goes down, based on real jobs, not textbook numbers. How Long Does Asphalt Take to Dry? Most fresh asphalt is dry enough to walk on within a few hours, safe for regular car traffic in 24 to 48 hours, and ready for heavier vehicles after about a week. Full curing, when the asphalt reaches its maximum hardness, takes anywhere from 60 to 90 days. That’s the featured-snippet-friendly answer. Now let me explain what’s actually happening underneath. Walking on it: You can usually walk on new asphalt after 6 to 24 hours, depending on the weather. On a warm, sunny New York afternoon, I’ve seen it firm up enough to walk on in a few hours. On a cooler, overcast day, I tell customers to give it the full 24 hours just to be safe. Driving on it: Passenger vehicles can typically drive on new asphalt after 2 to 3 days. I know a lot of contractors quote 24 hours, and technically the surface can handle it, but I’ve always preferred my customers wait the extra day or two. It costs you nothing, and it protects the investment you just made. Heavy vehicles: Trucks, RVs, dumpsters, and anything with serious weight should stay off for at least 7 days, sometimes longer in cooler weather. Here’s a quick reference table I give most of my customers: Activity Recommended Waiting Time Walking on the surface 6–24 hours Parking a regular car 2–3 days Heavy trucks or RVs 7+ days Placing a dumpster 7–14 days Basketball hoops (portable base) 7 days Motorcycle kickstands 3+ days, with a support plate Drying vs Curing: What’s the Difference? People use these words like they mean the same thing. They don’t, and understanding the difference will save you a headache. Drying is what happens on the surface. The asphalt mix cools down and firms up enough to hold weight without leaving marks. Think of it like the top of a cake setting after it comes out of the oven. It looks and feels done from the outside. Curing is what happens all the way through. The oils in the asphalt binder slowly evaporate, and the material keeps hardening, getting stronger and more resistant to damage over weeks and months. It’s less like a cake and more like concrete setting, just on a different timeline. So your driveway can look completely dry and still be soft underneath. That’s exactly why I tell people not to judge readiness by appearance alone. What Affects Asphalt Drying Time? No two paving jobs dry at the same speed, even on the same street. Here’s what actually moves the needle. Air temperature. Warm weather speeds things up; cold weather slows it way down. I’ve paved driveways in August that were road-ready in two days, and driveways in late October that needed closer to five. Humidity. New York summers can get sticky, and high humidity keeps moisture in the air longer, which slightly extends drying time even when temperatures are high. Sun exposure. A driveway that gets full afternoon sun dries noticeably faster than one shaded by trees or a house all day. I’ve paved side-by-side driveways on the same block that dried at different rates just because of shade. Asphalt thickness. Thicker asphalt, like what we use for commercial lots, holds heat longer and takes more time to firm up compared to a standard residential driveway. Traffic. Every time weight is added before the surface is ready, drying and curing both get disrupted. This is the number one reason I see early damage. Type of asphalt mix. Different mixes are designed for different climates and traffic loads. Some are formulated to set up faster, which matters a lot for commercial jobs on a tight schedule. New York seasons. Late spring and summer paving is usually the most forgiving. Fall jobs need extra patience because cooler nights slow curing down even if the days are warm. Step-by-Step Guide After a New Asphalt Installation Step 1: Stay off the surface. I know it’s tempting to walk out and admire it, but give it the time outlined above before foot or vehicle traffic. Step 2: Avoid sharp turns. When you do start driving on it, ease in and out slowly. Cranking the wheel while stopped can leave permanent marks in asphalt that hasn’t fully cured. Step 3: Don’t park in the same spot every day. For the first few months, try to vary where your tires sit. This prevents indentations from forming in one concentrated area. Step 4: Protect the edges. The edges of a new driveway are the most vulnerable part. Avoid driving or parking right up against them until the asphalt has had a few weeks to firm up. Step 5: Wait before sealing. Sealcoating too early traps moisture underneath and can actually shorten the life of your driveway. Most new asphalt needs 6 to 12 months before its first seal coat. Step 6: Schedule regular maintenance. Once your driveway is past the initial curing period, get in the habit of yearly inspections for cracks, drainage issues, or wear. Common Mistakes That Damage Fresh Asphalt Over the years, I’ve seen the same handful of mistakes cost homeowners real money. How
How Long Before Parking on a New Asphalt Driveway? A New York Contractor Explains
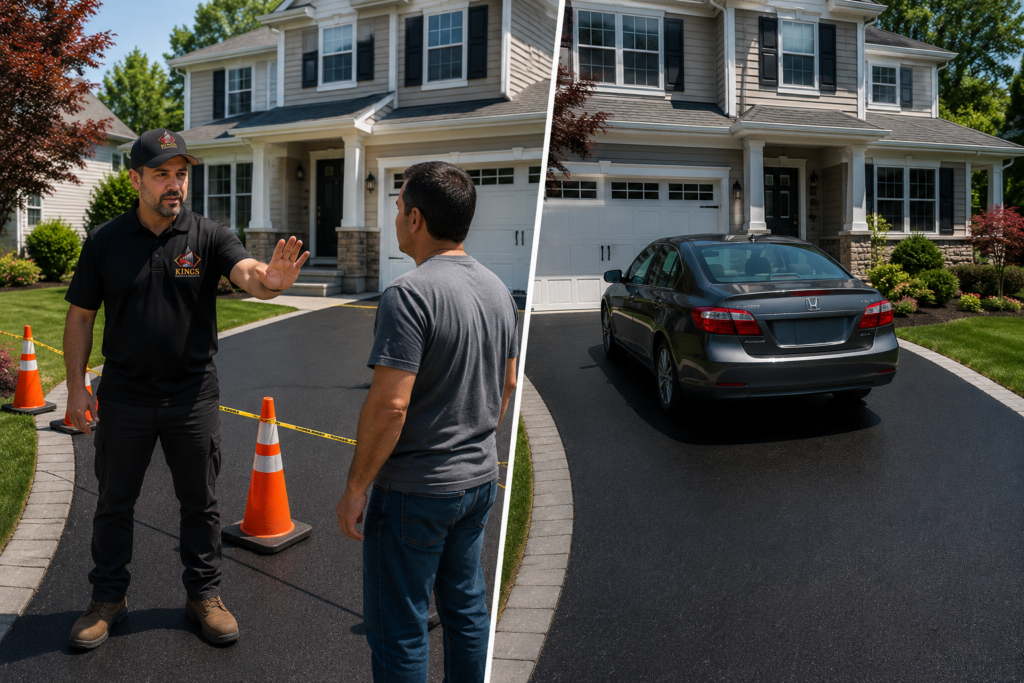
You’ve got a brand new driveway. Smooth, dark, no cracks, no potholes it’s tempting to pull the car right up and admire it from the front seat. Don’t do that yet. I’ve been installing asphalt driveways across New York for over 20 years, and this is one of the most common calls I get right after a job wraps up. Someone parked too soon, and now there’s a dip, a set of tire tracks pressed into the surface, or a soft spot that wasn’t there the day before. It’s an easy mistake to make because fresh asphalt looks ready long before it actually is. The short answer: give it at least 2 to 3 days for regular passenger vehicles, and up to a week for anything heavier. But there’s more to it than a flat number, and understanding why will help you protect what you just paid for. How Long Should You Wait Before Parking on a New Asphalt Driveway? The waiting period depends on a few things, but here’s the general range I give homeowners. Passenger vehicles, cars, and small SUVs typically need a minimum of 2 to 3 days before they should sit on new asphalt. In cooler weather, I usually push that closer to 4 or 5 days just to be safe. Heavier vehicles, like pickup trucks, vans, or anything towing a trailer, need more time. I tell people to wait at least a week, sometimes longer depending on the weather during installation. Weather changes everything. Hot, sunny days can actually work against you here; the surface might look and feel set, but the asphalt underneath is still soft. Cooler, cloudy conditions slow the process down even further. Every contractor sets their own guidance based on the mix used and conditions on install day, so always ask whoever did your paving what they recommend for your specific driveway. I’d rather a homeowner call and ask than guess. Vehicle Type Recommended Waiting Time Notes Passenger car / small SUV 2–3 days Extend to 4–5 days in cooler weather Pickup truck/van 5–7 days Heavier weight needs more cure time Vehicle with trailer 7+ days Concentrated weight on tires increases risk Motorcycle 3–5 days Kickstand can still puncture the surface; use a support pad RV or heavy equipment 2+ weeks Best to avoid until fully cured if possible Why Asphalt Needs Time to Cure Here’s something a lot of homeowners don’t realize: drying and curing aren’t the same thing. Asphalt “dries” pretty quickly within a day or two; it looks solid and feels firm to the touch. But curing is a longer process. It’s the asphalt gradually losing the oils used to keep the mix workable during installation, and slowly hardening as it settles into its final, stable state. Fresh asphalt stays somewhat flexible for a while after it’s laid. That flexibility is actually useful early on, but it also means the surface can still be reshaped by weight before it’s had time to firm up. A tire sitting in one spot too long, especially during a hot afternoon, can leave an impression that doesn’t go away. The truth is, curing continues for months after installation, not just days. The first few days matter most for avoiding visible damage, but the asphalt continues to harden and stabilize for a good while after that. Factors That Affect Asphalt Curing Time Not every driveway cures at the same pace. A few things shift the timeline. Temperature plays a big role. Warmer temperatures help the initial set but can also soften the surface temporarily during peak heat, which is why I tell people to avoid parking during the hottest part of the day even once the general waiting period has passed. Humidity slows curing down. Moisture in the air keeps the surface from hardening as quickly as it would on a dry day. Sun exposure actually speeds up surface hardening but doesn’t do much for the layers underneath, which is part of why a driveway can look ready before it really is. Asphalt thickness matters too. A standard residential driveway cures differently than a thicker commercial application built for heavier loads. Traffic, obviously, sets back curing if it starts too early. Every early use adds a little more risk while the mix is still settling. Seasonal installation changes the picture significantly. A driveway paved in July cures on a different timeline than one paved in October, when cooler nights slow the process. In New York, I generally build in extra waiting time for anything installed in fall. New York’s climate in general, humid summers and cold snaps in the shoulder seasons, means local curing times often run a bit longer than what you’d see in a drier, more consistent climate. Step-by-Step Guide After Your Driveway Is Installed Step 1: Stay off the driveway initially. For the first 24 to 48 hours, avoid walking or driving on it entirely if you can. This is when the surface is most vulnerable. Step 2: Walk only when advised. Once your contractor gives the go-ahead, light foot traffic is usually fine. Avoid narrow heels or anything that concentrates weight into a small point. Step 3: Wait before parking. Follow the guidance above based on your vehicle type, and lean toward waiting longer rather than shorter if you’re unsure. Step 4: Avoid turning the steering wheel while stationary. This is a big one. Turning your wheels while the car isn’t moving twists and scuffs the surface, and it’s one of the most common ways fresh asphalt gets damaged, even weeks after installation. Step 5: Keep heavy equipment off. Dumpsters, construction equipment, and anything with concentrated point loads should stay off the new surface for as long as possible, ideally a few weeks. Step 6: Protect edges. The edges of a new driveway are more vulnerable than the center. Avoid driving right up to the border or repeatedly rolling tires over the same edge line while things are still settling. Step 7: Maintain the surface during the first
How to Fix Cracks in an Asphalt Driveway Before They Become Costly Repairs
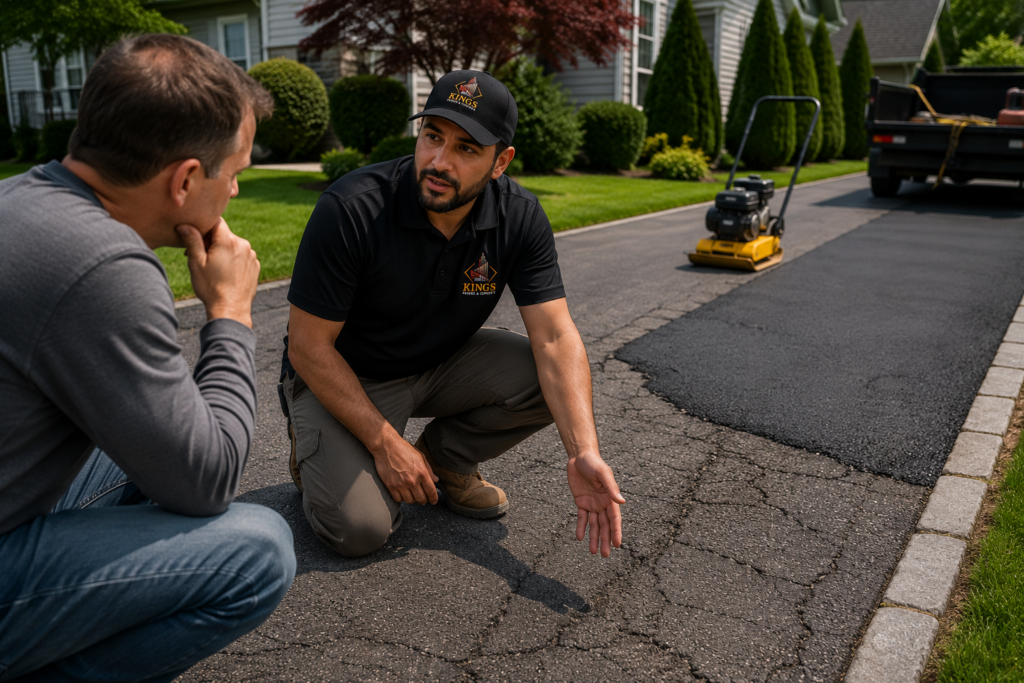
You notice a crack in your driveway. It’s thin, maybe just a hairline running along one edge. Easy to ignore, right? Here’s the thing. I’ve been repairing asphalt driveways in New York for over 20 years, and almost every major repair I’ve done started as something a homeowner noticed but put off fixing. A crack that could’ve been sealed for the cost of a tube of filler turns into a section that needs to be cut out and repatched. Sometimes it turns into a full resurfacing job. New York doesn’t make this easy on asphalt. We get real winters, real freeze-thaw cycles, and driveways that see everything from salt to snowplows to summer heat that softens the surface. That combination is hard on asphalt, and it’s exactly why small cracks here don’t stay small for long. This guide walks through why cracks form, how to fix them yourself when that makes sense, and how to tell when it’s time to call someone like me instead. Why Asphalt Driveways Crack Asphalt is flexible by design, but it’s not indestructible. A few things wear it down over time, and usually it’s a combination of factors, not just one. Freeze-thaw cycles are probably the biggest culprit around here. Water gets into tiny pores or existing cracks, freezes, expands, and pries the asphalt apart. Then it thaws, and the cycle repeats the next cold snap. By the end of a New York winter, a crack that started as a hairline can be wide enough to catch your shoe. Water penetration goes hand in hand with that. Once water gets underneath the surface layer, it weakens the base material the asphalt sits on. A driveway is only as strong as what’s beneath it. UV exposure dries out the oils that keep asphalt flexible. Older driveways that haven’t been sealed in years get brittle, and brittle asphalt cracks instead of flexing under weight. Heavy vehicles, trucks, RVs, and dumpsters dropped off for a renovation put more stress on asphalt than it’s built for in spots not reinforced for that load. Aging asphalt naturally loses flexibility. Most residential driveways start showing their age somewhere around the 12–15 year mark, sooner if maintenance was skipped. Poor drainage sends water pooling in low spots instead of running off, which speeds up nearly every other problem on this list. Tree roots growing underneath the driveway push up from below, and no amount of surface repair fixes that until the root pressure is addressed. Cause Severity Can It Be Prevented? Freeze-thaw cycles High Partially sealing helps reduce water intrusion Water penetration High Yes, with proper sealing and drainage UV exposure Medium Yes, with regular sealcoating Heavy vehicles Medium Yes, by avoiding overloading the surface Aging asphalt High No, but maintenance slows it down Poor drainage High Yes, with grading and drainage fixes Tree roots Medium Sometimes, with root barriers or removal Types of Asphalt Driveway Cracks Not all cracks mean the same thing, and knowing which type you’re dealing with changes how you approach the repair. Hairline cracks are thin, shallow, and usually cosmetic at first. They look like a fine line across the surface, sometimes barely visible until the light hits them right. These are the easiest to fix and the ones most worth catching early. Edge cracks run along the sides of the driveway, often where it meets grass or landscaping. They tend to show up when there’s insufficient support along the border, or from water runoff eroding the edge over time. Fatigue cracks, also called alligator cracks, look exactly like the name suggests: a web of interconnected cracks resembling reptile skin. This is a structural problem, not a surface one. It usually means the base underneath has failed. Longitudinal cracks run parallel to the length of the driveway, often following the direction the asphalt was laid. These can start small but widen if not addressed. Transverse cracks run perpendicular, cutting across the width of the driveway. Temperature swings are usually behind these, as the asphalt contracts and expands. If you’re standing in your driveway trying to figure out which one you’ve got: a single thin line means simple crack repair. A spiderweb pattern means it’s time for a real conversation about what’s happening underneath. How to Fix Cracks in an Asphalt Driveway (Step-by-Step) Step 1: Inspect the damage. Walk the length of the crack. Note the width, depth, and whether it’s a single line or branching into others. This tells you whether you’re dealing with a simple fix or something bigger. Step 2: Clean the crack thoroughly. Use a wire brush or crack cleaning tool to remove loose debris, dirt, and old filler. A leaf blower works well for clearing out the fine dust afterward. Skipping this step is one of the most common reasons DIY repairs fail: filler doesn’t bond well to a dirty crack. Step 3: Choose the correct crack filler. For hairline cracks, a pourable asphalt crack filler works fine. For wider cracks, look for a cold-pour rubberized filler that stays flexible. Trying to use the wrong product for the crack size is another common mistake; filler that’s too thin just sinks into a wide crack without actually sealing it. Step 4: Apply the repair material properly. Pour or apply the filler slightly above the surrounding surface level, since it settles as it cures. Smooth it with a putty knife or trowel, feathering the edges so it blends with the existing asphalt. Step 5: Allow proper curing. Give it the full time listed on the product, usually 24 to 48 hours depending on temperature and humidity. Keep vehicles off it during this window. I’ve seen plenty of repairs get driven over too soon and pull right back apart. Step 6: Seal the driveway if needed. Once repairs are cured, a fresh coat of sealcoat over the whole driveway protects the new repair and the surrounding asphalt from UV and water damage going forward. DIY vs Hiring a Professional DIY Repair Professional Repair Lower upfront