Brick Driveway Paving in New Hyde Park, NY: Costs, Benefits & Design Ideas
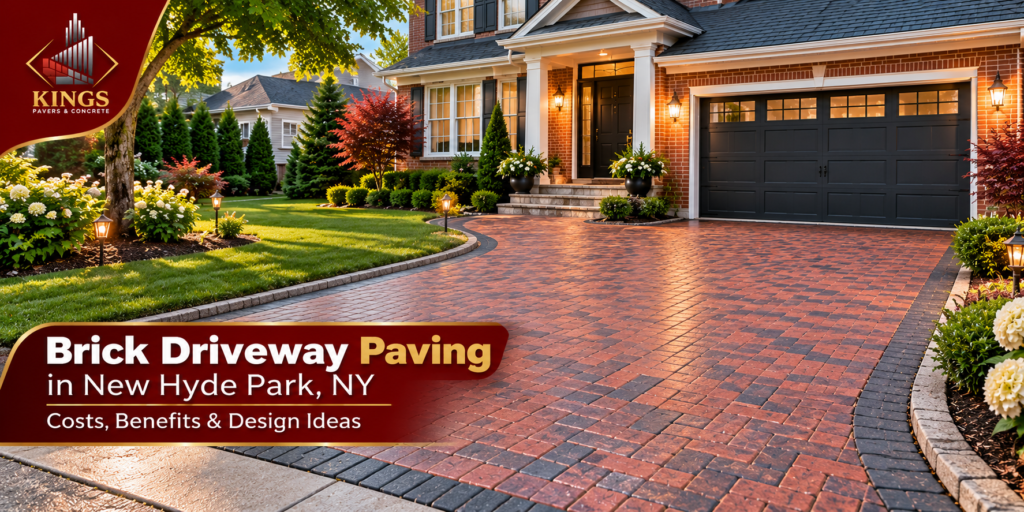
Most people start thinking about a new driveway after the same few signs pile up. Cracks that keep coming back. A low spot where water sits after every rain. An old slab that makes the front of the house look tired. If that sounds familiar, brick driveway paving in New Hyde Park is worth a serious look. Here is the short answer. A brick paver driveway usually costs more up front than poured concrete or asphalt, but it can be repaired one paver at a time and holds its appearance well when the base is built correctly. Nationally, installed prices commonly run from about $10 to $30 per square foot, and your final number depends heavily on excavation, drainage, and design. One clarification before going further. Most driveways called brick are actually built with concrete pavers molded and colored to look like brick. Genuine clay brick pavers are fired clay, with color that runs all the way through the unit. They can be an excellent choice, but they cost more and must be rated for vehicle traffic. Ask which one you are being quoted, because the two behave differently. Why Homeowners in New Hyde Park Choose Brick Driveways The first reason is usually looks. A paver driveway has texture, pattern, and color that a flat gray slab can’t match, and it tends to suit the older brick and colonial-style homes common on Long Island. Our guide to which driveway pavers suit New Hyde Park homes goes deeper on matching materials to house styles. The practical reasons matter more over time: There are real downsides too. Upfront cost is higher. Joints need sand topped up now and then, and weeds will take any opening you give them. Replacement pavers may not match a weathered driveway perfectly. And the whole system depends on the installer, since a handsome driveway on a weak base will sink. How Much Does Brick Driveway Paving Cost in New Hyde Park? No published figure is specific to New Hyde Park, so treat the numbers below as national ranges. Labor in the New York area tends to run above national averages, so quotes can land toward the upper end. Hunker, citing Angi data, puts pavers at roughly $10 to $35 per square foot, with decorative styles at the top. LawnStarter and InchCalculator both land closer to $10 to $30 installed. For a typical two-car driveway of 16 by 40 feet (640 square feet), that works out to roughly $6,400 to $19,200 before any extras. What moves your quote up or down: Cost factor Why it matters Material Concrete pavers cost less than clay brick or natural stone. Premium shapes and colors add more. Driveway size Square footage is the biggest single driver. Old driveway removal Demolition and hauling are usually quoted separately. National figures run about $3 to $8 per square foot for concrete and $3 to $7 for asphalt. Excavation and base Deeper digging and more stone cost more, but this is the last place to cut corners. Drainage Grading changes, drains, or tie-ins to a dry well add labor and materials. Pattern and cuts Herringbone and curved borders take longer than a simple running bond. Access and complexity Tight lots, slopes, and limited staging space slow the crew down. A useful comparison, again using national figures: Surface Typical installed cost per sq ft Source Asphalt $7 to $13 Hunker (Angi data), MyRainPlan Poured concrete $8 to $20 MyRainPlan Brick or concrete pavers $10 to $30 LawnStarter, InchCalculator These are estimates, not quotes. Sources disagree with each other, which is itself a hint of how much job conditions matter. A written estimate after a site visit is the only number worth planning around. Brick Pavers vs Concrete and Asphalt Driveways None of these is the right answer for everyone. A rental property on a tight budget and a home where curb appeal is a priority are different jobs. Pavers Poured concrete Asphalt Initial cost Highest of the three Mid-range Usually lowest Appearance Most pattern and color options Plain, or stamped for extra cost Uniform black Repair options Lift and reset individual units Patch, grind, or replace sections Patch or resurface Maintenance Joint sand, cleaning, occasional releveling Crack sealing, occasional sealing Sealcoating, commonly every few years Expected service life Varies widely with base quality and care Often cited as decades, varies by source Often cited as 15 to 25 years Installation Labor intensive, base prep critical Needs curing time, control joints Fast, needs proper compaction If you are weighing the other options, we also cover concrete driveways and asphalt services, and there is a separate guide on how long asphalt lasts in New York. Popular Brick Driveway Design Ideas for New Hyde Park Homes Herringbone. The interlocking zigzag is the standard for driveways because it resists the sideways push of turning tires better than most patterns. It looks right on almost any house. Running bond. Staggered rows like a brick wall. Cleaner and more traditional, and quicker to lay, which can help the budget. It suits colonials and Capes. Basketweave. Pairs of pavers turned at right angles. It has a classic, slightly formal look that works on older homes, though it handles vehicle loads less well than herringbone unless the base and unit thickness are right. Color choices. Traditional red is bold and works best on homes with matching brick or red accents. Charcoal, tan, and blended mixes are more forgiving and hide oil and tire marks better. Borders. A contrasting border, or a soldier course along the edges, frames the driveway and also helps hold the field in place. Our page on driveway borders and edging shows the options. A good rule: pick the pattern that suits how the driveway is used, then let color and borders express the style. How Professional Brick Driveway Installation Works Most of what you are paying for is buried underground, where nobody will see it again. Here is the sequence a careful crew follows, which is also the sequence our
Which Driveway Pavers Are Best for New Hyde Park Homes?
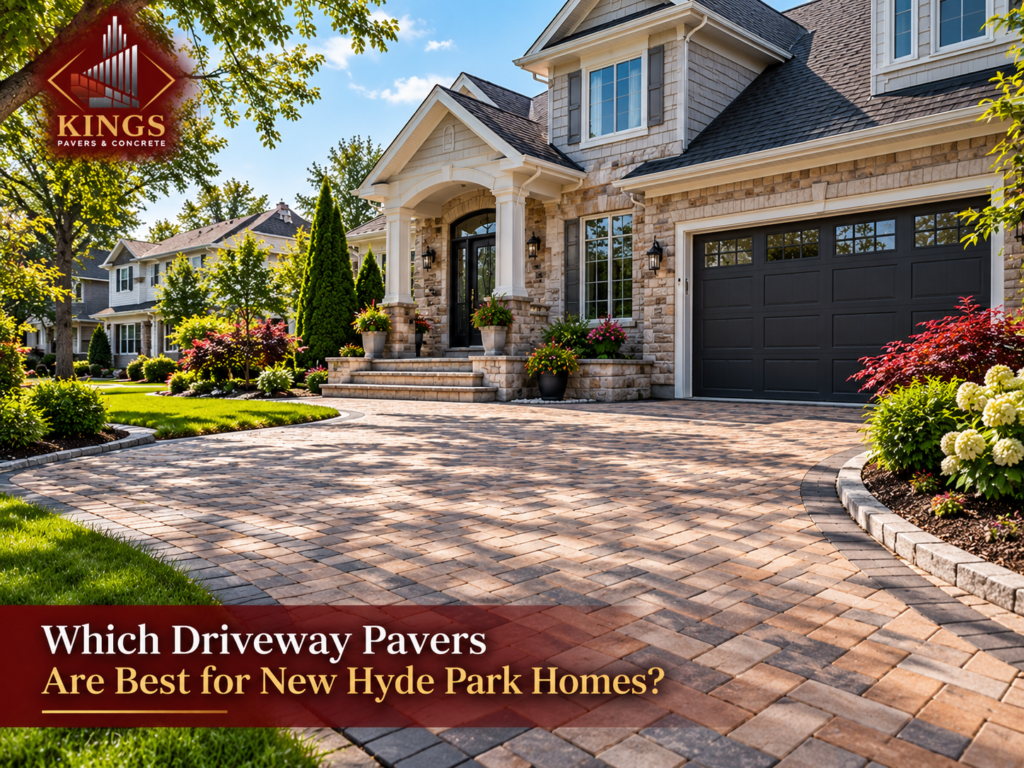
Most driveway conversations in New Hyde Park start the same way. A homeowner has a cracked asphalt or concrete drive, or a paver driveway that has sunk in the wheel tracks, and wants to know what to put down next. Within a few minutes, the question shifts from “what looks nice?” to “what will still look right after fifteen winters and a few thousand trips in and out of the garage?” A driveway material has to balance appearance, vehicle use, maintenance, weather resistance, repairability, installation quality, and budget. Improving one often costs you another. The short answer: for most New Hyde Park homes, a properly installed interlocking paver driveway in either clay brick or concrete is a sensible choice. Brick suits traditional homes and owners who value color that holds up over time. Concrete pavers offer more styles and shapes, and they often cost less. Natural stone is beautiful but is a premium option that doesn’t suit every driveway. In every case, the base under the pavers matters at least as much as the pavers themselves. The rest of this guide explains why, so you can compare options for your own property. What to Consider Before Choosing Driveway Pavers A paver that works on one street can struggle on another, so it helps to look at the whole situation before picking a color. Freeze-thaw cycles. Long Island winters don’t stay cold. Temperatures swing above and below freezing many times a season, and that is harder on a driveway than steady cold. Water gets into joints and small gaps, freezes, expands, and thaws again. Over time, that movement can loosen joints, lift edges, and show up any weak spot in the base or the pavers. Rain and drainage. Water needs somewhere to go. A driveway that sheds water toward the street, a lawn, or a drain behaves very differently from one that holds water against the garage slab or the foundation. Much of Long Island has sandy soil that drains well, but that isn’t universal. Fill material, clay pockets, and compacted older driveways can all change how water moves. Look at where water sits after a heavy rain. Snow and ice. Shoveling, plowing, and deicing all affect the surface. Some paver edges catch snow blades more than others. Some surfaces hold up to salt better than others, depending on the product’s quality and how it was made. Vehicle traffic and weight. A driveway for two sedans is a different job from one that sees SUVs, delivery trucks, or the occasional heavy vehicle. Turning movements, like pulling into a tight garage, put more stress on the surface than straight driving. The paver thickness and base depth should match the loads. Existing soil and base. What’s under the old driveway, and what is the soil like? Removing an old asphalt drive often exposes a base that is thin, contaminated, or uneven. That is useful information before you commit to a material. Maintenance expectations. Some owners are happy to rinse the drive, top up joint sand, and reseal now and then. Others want to do as little as possible. Be honest about which you are. Home style. A red-brown brick drive suits a traditional Cape or colonial. A clean-lined, gray modern home may call for larger-format concrete pavers. The driveway should look like it belongs with the house, the walkway, and the neighbors. Brick Pavers for Driveways Clay brick pavers are made from fired clay, and the color runs through the whole unit rather than sitting on the surface. That is a big part of their appeal. They tend to keep their color well over the years, and they age gracefully, with a warmth that suits older neighborhoods. Appearance. The classic look is a range of reds, browns, and charcoals, often laid in a herringbone pattern. Herringbone also adds mechanical strength for vehicle traffic, which is why you see it so often on driveways. Durability. Quality clay pavers handle vehicle loads well when they are made for that use and installed on a good base. Because clay absorbs water differently from concrete, it’s worth asking your supplier whether the product is rated for severe weathering and vehicular traffic. Standards such as ASTM C902 and ASTM C1272 cover clay pavers, and a reputable supplier should be able to tell you what a product meets. Maintenance. Brick is fairly forgiving. It needs occasional cleaning, joint sand that is kept topped up, and attention to weeds and moss in shaded spots. Sealing is optional, mainly to deepen color, resist stains, or help hold joint sand in place. Repairability. Pavers can be lifted, the base corrected, and the same pavers set back down. That is a real advantage over poured surfaces, where a repair usually shows. Potential drawbacks. Brick often costs more than basic concrete pavers. The color range is narrower than with concrete, and a poor-quality brick can chip or flake. If you’re matching an existing walkway or steps, it can also be hard to find an exact color match later. Where brick works well. Brick driveway paving in North New Hyde Park often makes sense on traditional homes, on streets with older housing stock, and for owners who want a driveway that looks better with age. It also suits homeowners who want to be able to repair a section down the line without redoing the whole drive. Concrete Pavers Concrete pavers are made from molded concrete, and they are the most widely used driveway paver. A large part of the reason is flexibility. Where they make sense. If you want a specific color, shape, or texture, there are many options: tumbled and aged finishes, large-format slabs for a modern look, and designs that imitate stone or wood. They suit both traditional and modern homes, and they’re often a good fit when budget matters and the owner still wants the benefits of an interlocking system. Practical advantages. Pavers are manufactured under controlled conditions, so size and thickness are consistent. That helps with laying patterns and tight
How to Maintain Driveway Pavers in New Hyde Park, NY
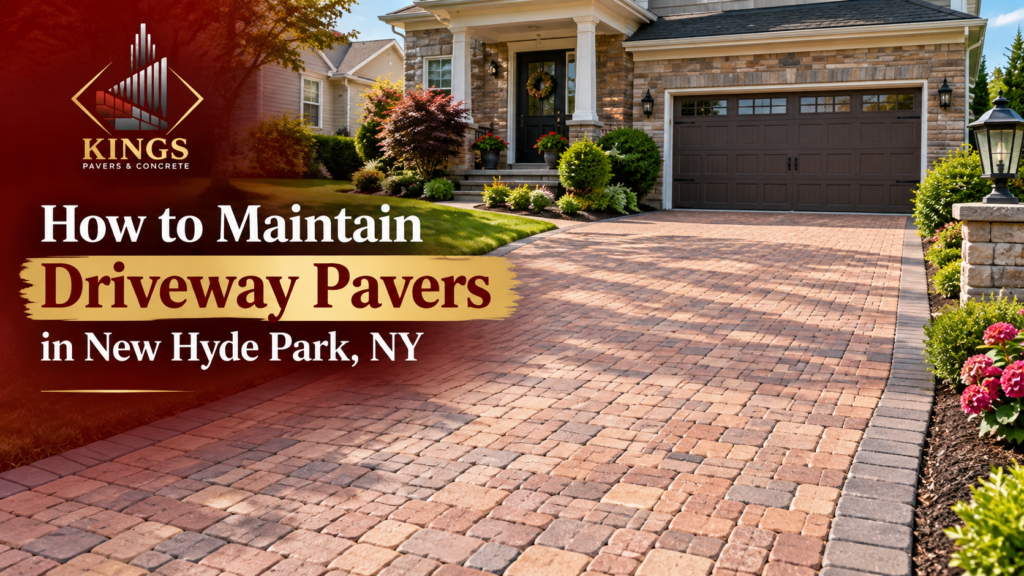
A paver driveway usually looks its best the week after it’s installed. Give it a few Long Island winters and some changes start to show. The joints go pale and gritty, a few weeds poke through near the garage, a dark oil spot appears where the car sits, and one corner starts to dip just enough that water collects after a storm. None of that means the driveway was installed badly. It means the driveway is being used, and it needs some attention. The short answer to “how do I maintain driveway pavers?” is this: inspect them at least twice a year, keep the surface clean, keep the joints full of sand, watch how water drains, and deal with small settlement before it spreads. Most of that is simple. The rest of this article covers what to look for and when a problem has gone past what a homeowner should tackle alone. The brick driveway paving New Hyde Park homeowners choose is made of individual units locked together over a compacted base. That’s what makes it flexible and repairable, and it’s also why it responds so well to regular attention. Why Paver Driveway Maintenance Matters A paver driveway works as a system: the pavers, the sand between them, the bedding layer beneath, and the compacted base under that. When one part weakens, the others take on more load. Joint sand is a good example. It’s inexpensive and easy to overlook. Once it washes out, pavers can shift against each other, water gets down into the base, and weeds find a place to root. Left alone for a few years, a small joint-sand problem can turn into edge movement or low spots. Small problems are also cheaper and less disruptive to fix. Topping up joints is an afternoon of work. Lifting and re-laying a settled section takes longer, and rebuilding a base that has washed out takes longer still. How Often Should Driveway Pavers Be Maintained? There’s no single schedule that fits every driveway. A quiet residential driveway under trees needs different care than a commercial lot with delivery trucks. The frequencies below are practical rules of thumb, not a manufacturer standard. If your pavers, sealer, or joint sand came with written instructions, those take priority. Maintenance Task Suggested Frequency Why It Matters Visual inspection Spring and fall, plus after major storms Catches settlement, joint loss, and drainage problems early Sweeping/blowing off debris As needed; more often in leaf season Organic debris holds moisture and feeds moss, algae, and weeds Weed and moss check Monthly during the growing season Easier to remove when small; roots loosen joint sand Surface washing Yearly, or when dirt or algae builds up Removes grime without wearing down the surface or joints Joint sand check At least once a year Full joints keep pavers locked together Drainage check After heavy rain Standing water points to grading or base trouble Resealing (if sealed) Depends on product and wear; follow the label Sealers wear down at different rates Pre-winter walkthrough Late fall, before the first hard freeze Fixing gaps before freeze-thaw prevents worse damage Traffic changes the picture. Areas where cars turn the wheels, park in the same spot, or where a heavier vehicle pulls in tend to show wear sooner. Step-by-Step Driveway Paver Maintenance Step 1: Inspect the driveway. Walk it slowly, ideally in daylight when shadows make low spots easier to see. Look for pavers that sit higher or lower than their neighbors, cracked units, gaps along the edges, and any spot where water lingers. Take a few photos each time so you can compare from year to year. Step 2: Remove leaves, dirt, and debris. Sweep or use a leaf blower. This sounds minor, but wet leaves left over winter will stain some pavers and give moss a foothold. Pay attention to the edges and corners where debris packs in. Step 3: Clean stains appropriately. Match the method to the stain. Fresh oil should be blotted (not wiped, which spreads it) and covered with an absorbent material before you clean the area. Green or black growth in shaded areas usually calls for a gentle scrub or a cleaner made for pavers. Cleaning has its own section below. Step 4: Check joints and joint sand. Joints should be filled close to the top, leaving a small gap below the edge of the paver. If you can see a lot of the paver’s side wall, or a stick or screwdriver slides deep into the joint, the sand has dropped. Step 5: Look for loose, uneven, or sunken pavers. Step on suspect areas. Pavers that rock or clunk under your foot are no longer held by the bedding layer. A shallow dip you can barely feel is a different situation than a depression that holds water, and we’ll get to that below. Step 6: Check drainage after rainfall. Go out after a real rain and see where the water goes. It should move off the surface toward a lawn, drain, or street, not sit on the pavers or run toward the garage or foundation. Water still standing hours later, or a spot where the joint sand keeps washing out, is worth investigating. Step 7: Determine whether resealing is appropriate. If the driveway was never sealed, you don’t have to start now. If it was sealed, check whether water still beads on the surface and whether the finish looks worn or patchy in the wheel paths. The decision depends on the product and the pavers, which the sealing section covers. Step 8: Prepare the driveway for winter. In late fall, top up any low joints, clear the surface, and mark the driveway edges if you or your plow contractor use a plow. More on winter care below. Cleaning Brick and Concrete Driveway Pavers Start with the gentlest approach and work up only if needed. Sweeping and a rinse with a hose take care of most ordinary dirt. For stubborn buildup, a soft-bristle brush and a mild cleaner usually
Paving Your New York City Driveway: Material Choices and Expert Solutions
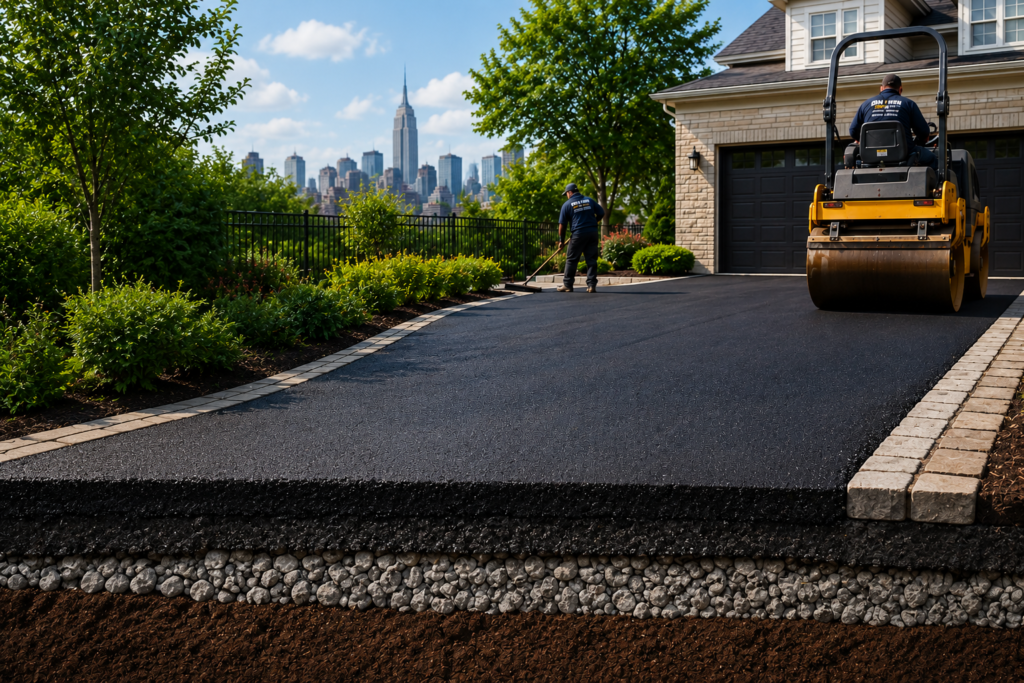
You paid for the property. You maintain the building. But the driveway that is cracked, stained, or just embarrassingly worn keeps getting pushed to next year’s list. For most New York City homeowners, driveway paving feels like a project with too many moving parts: permits, material choices, contractor vetting, zoning rules, and a price tag that varies wildly depending on who you ask. At Kings Pavers & Concrete, we’ve worked on driveway installations, replacements, and hardscape projects across Brooklyn, Queens, Staten Island, and the Bronx. From narrow urban lots to large residential properties, our team understands the permitting, drainage, and climate challenges unique to NYC paving projects. This guide cuts through all of it. Here’s what you actually need to know before a single shovel hits the ground. Why Getting This Wrong Is Expensive A bad driveway isn’t just an eyesore. It’s a financial liability that compounds over time. The Material Breakdown: What Actually Works in NYC There is no universally correct paving material. The right choice depends on your budget, your lot, your neighborhood’s aesthetic standards, and how long you intend to own the property. Here’s an honest assessment of each option. Asphalt Asphalt is the most common driveway surface in New York City for good reason. It performs well through freeze-thaw cycles, installs faster than any alternative, and costs less upfront, typically $3 to $7 per square foot installed. It does require maintenance: sealing every three to five years extends its life significantly and prevents the surface from becoming brittle. Lifespan with proper maintenance is 20 to 30 years. The downside is aesthetics. Asphalt looks functional, not attractive. It also softens in extreme summer heat, which can cause surface deformation under heavy vehicle weight. For homeowners who want curb appeal, it’s a practical choice but not a premium one. Concrete Concrete costs more upfront, $6 to $12 per square foot, but lasts 30 to 50 years with minimal maintenance. It can be stamped, textured, or colored, which makes it one of the few materials that offers both durability and visual flexibility. The critical caveat for NYC: concrete is vulnerable to salt damage. Road salt and de-icing chemicals, which are heavily used on NYC streets and sidewalks, accelerate surface deterioration if they reach the driveway. Sealing is essential. You also need a contractor who knows how to pour and cure concrete in variable temperatures, a common problem in early spring and late fall installations. Brick and Clay Pavers Brick pavers are the right choice if longevity and repairability matter more than upfront cost. Individual units can be pulled up and replaced without disturbing the surrounding surface, a meaningful advantage over monolithic poured materials. Installation runs $10 to $20 per square foot, and a well-built brick driveway can last 50 years or more. The requirement is base prep. Brick pavers distribute load through their bed layer; if that layer isn’t properly compacted and leveled, pavers shift and settle unevenly. In NYC, where soil conditions vary block by block, this is not a step to shortcut. Hire a contractor who treats the base as seriously as the surface. Natural Stone (Bluestone, Granite) Bluestone is the material you see on the stoops and garden paths of brownstone Brooklyn, and it translates well to driveways in historic neighborhoods. Granite cobblestones are common in older properties in Queens and Staten Island. Both are extremely durable, genuinely attractive, and expensive, $15 to $30 per square foot installed. One practical note: polished or smooth natural stone is slippery when wet. Specify a flamed or bush-hammered finish for any surface that gets vehicle or foot traffic in the rain. Permeable Options (Gravel, Permeable Pavers) Permeable surfaces, compacted gravel, permeable interlocking pavers, or plastic grid systems filled with gravel handle NYC stormwater regulations most cleanly because they allow water to drain through rather than run off. If your lot triggers stormwater compliance requirements, a permeable surface can eliminate the need for additional drainage engineering. Gravel is the lowest-cost option at $1 to $4 per square foot, but requires edging to prevent spread and occasional regrading. Permeable pavers cost $10 to $18 per square foot, but look more finished and hold their position better. Both are worth considering if you’re in a neighborhood with strict impervious surface limits. Expert Driveway Solutions That Prevent Costly Repairs A long-lasting driveway starts below the surface. In NYC, expert installation means proper excavation, compacted base preparation, drainage planning, and materials designed to handle freeze-thaw cycles year after year. Professional contractors also account for: These details are what separate a driveway that lasts 20+ years from one that starts cracking after a few winters. Experienced NYC contractors understand that long-term durability depends more on proper installation methods and drainage engineering than the surface material alone. How to Hire the Right Contractor In New York City, experienced contractors should be familiar with DOT regulations, curb cut requirements, sidewalk integration, and local building compliance standards before any work begins. Before you sign anything, check these five things: The Decision Checklist Before you contact a contractor, answer these questions: Why Trust Kings Pavers & Concrete? Kings Pavers & Concrete has helped NYC homeowners improve their properties with professionally installed driveways, patios, sidewalks, and masonry work built for long-term durability. Our team combines hands-on field experience, code-compliant installation practices, and premium materials to deliver surfaces designed for New York City’s demanding climate conditions. The Bottom Line Paving a driveway in NYC is a significant investment, and the decisions you make before the crew shows up determine whether that investment holds for decades or starts failing within a few years. Choose a material that fits your lot, your budget, and your timeline. Understand the permit requirements before work begins. And hire a contractor who treats base preparation as the foundation of the job because it is. Done right, a properly paved driveway adds value, reduces liability, and stays off your maintenance list for a generation. Done wrong, it becomes a recurring expense that costs far more than the